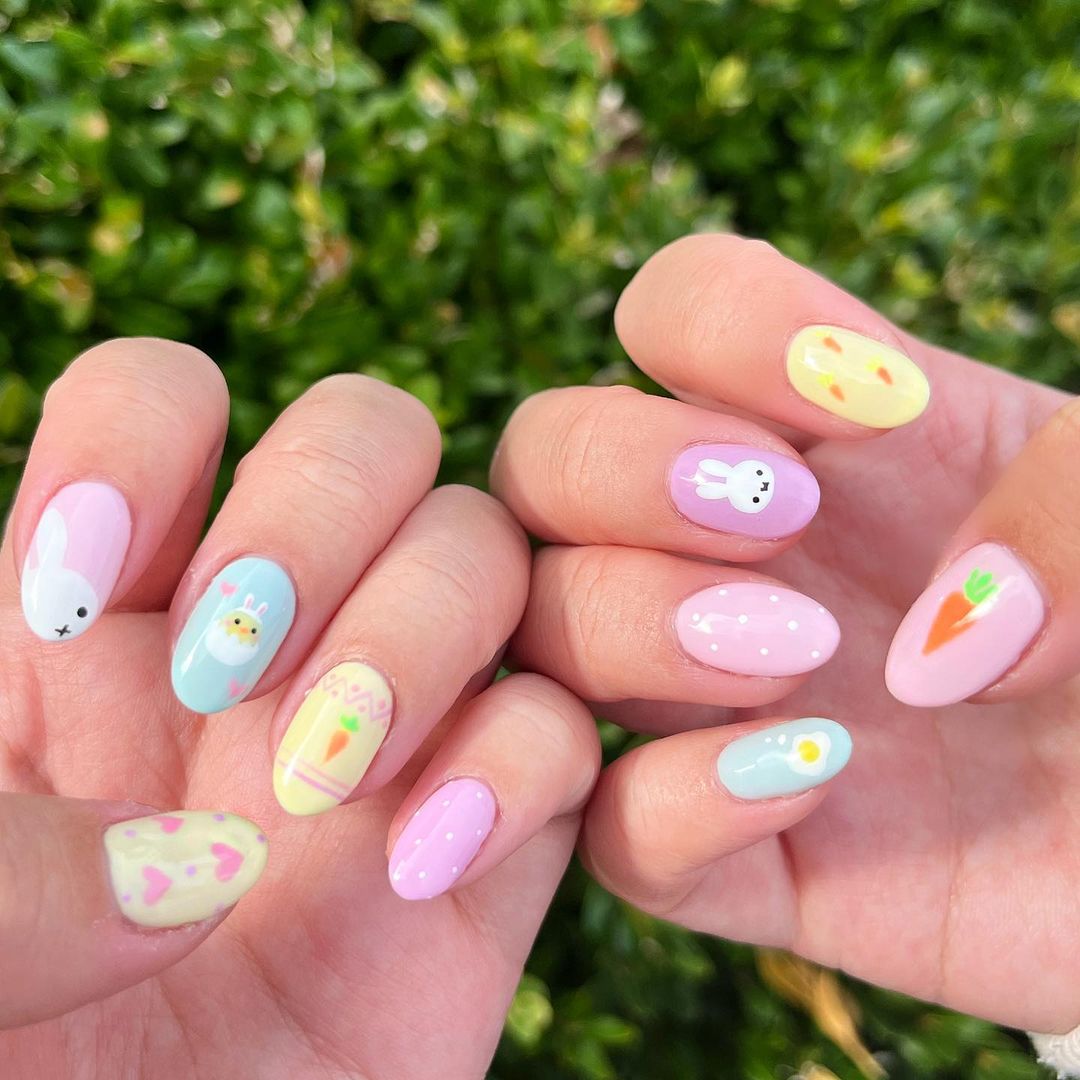
33 Best Ideas for Easter Dip Nails
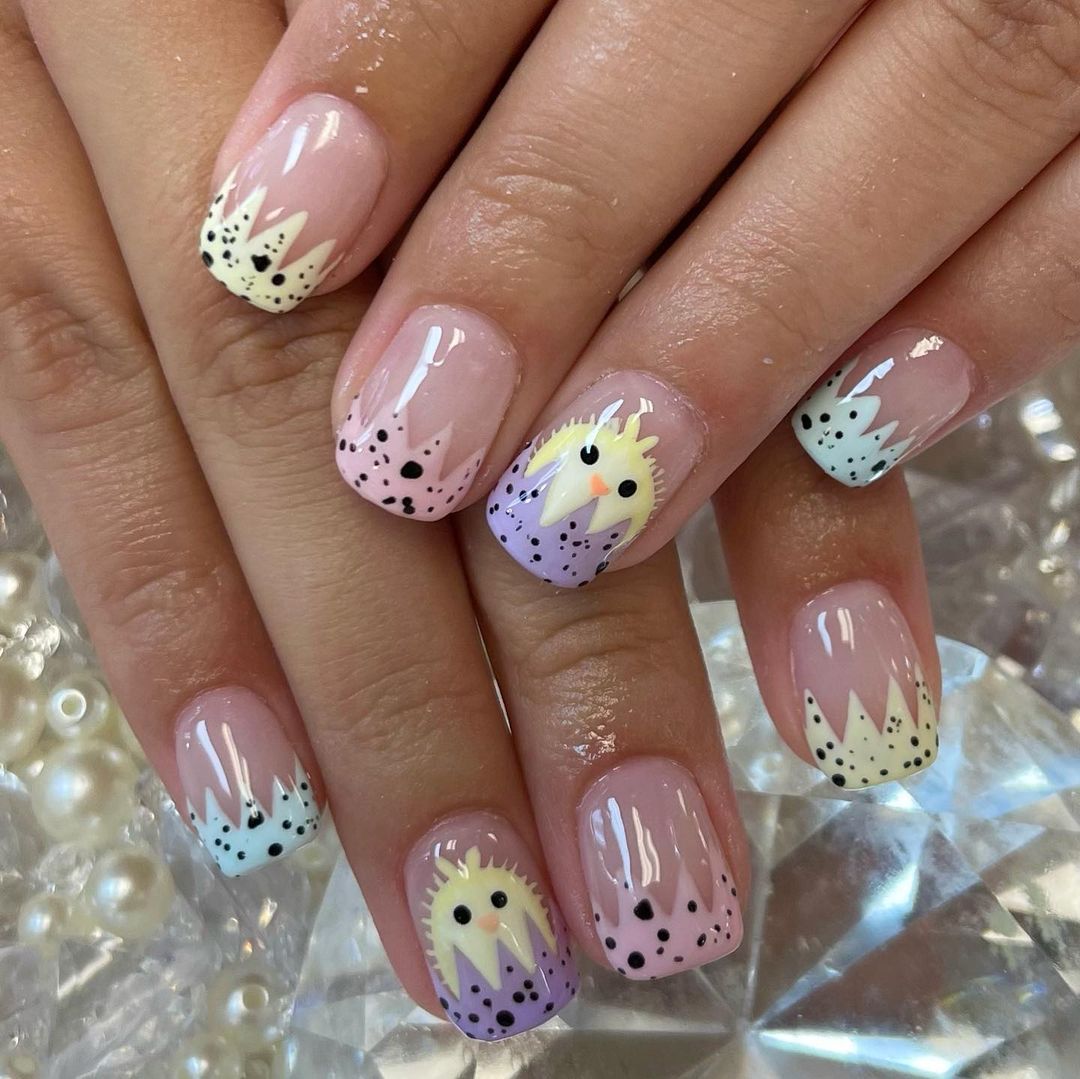
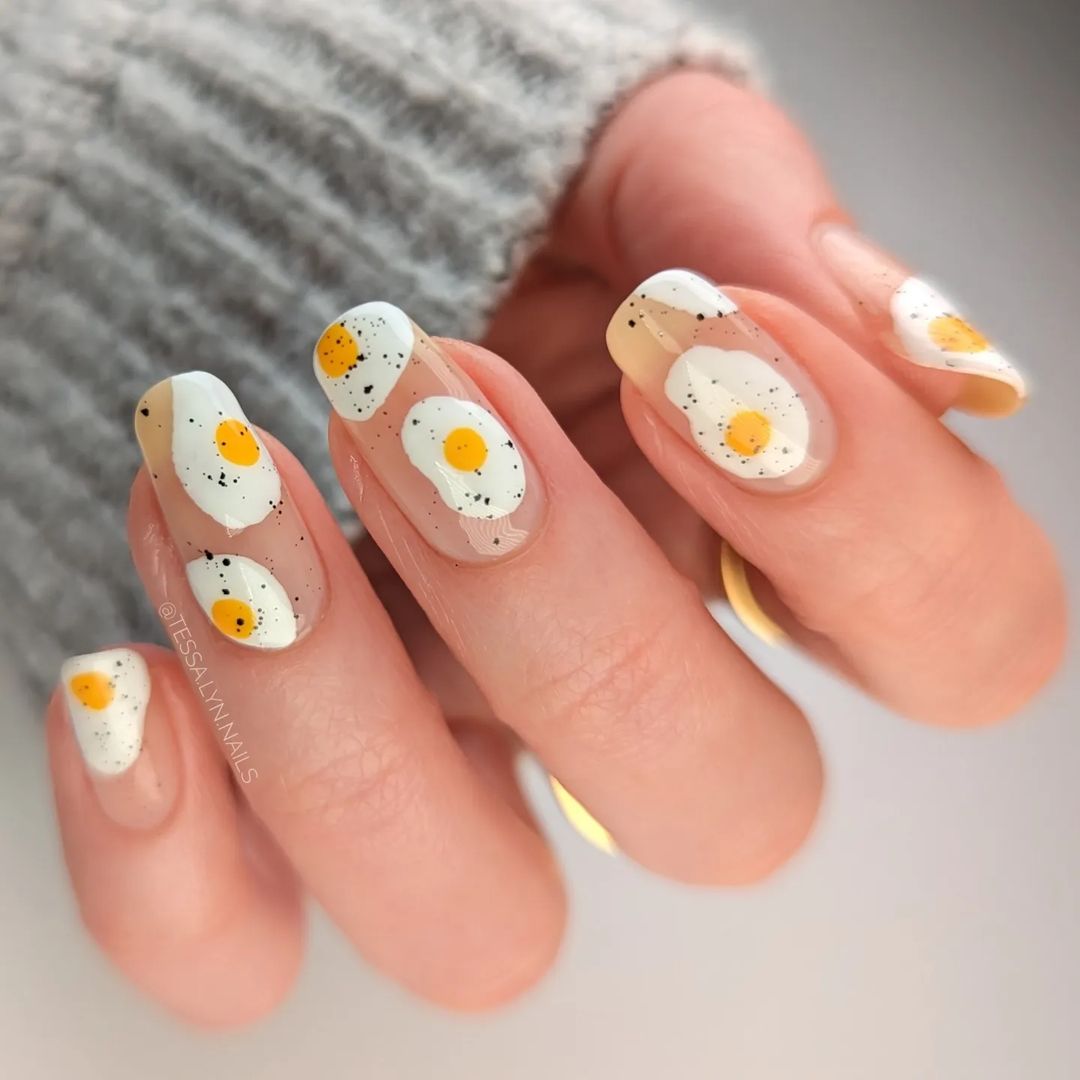
1.
Cute Easter Dip Nails with Chicken Art
2.
Barbie Chrome French Tips to Try for Easter
3.
Beautiful Blue Floral Easter Dip Nails
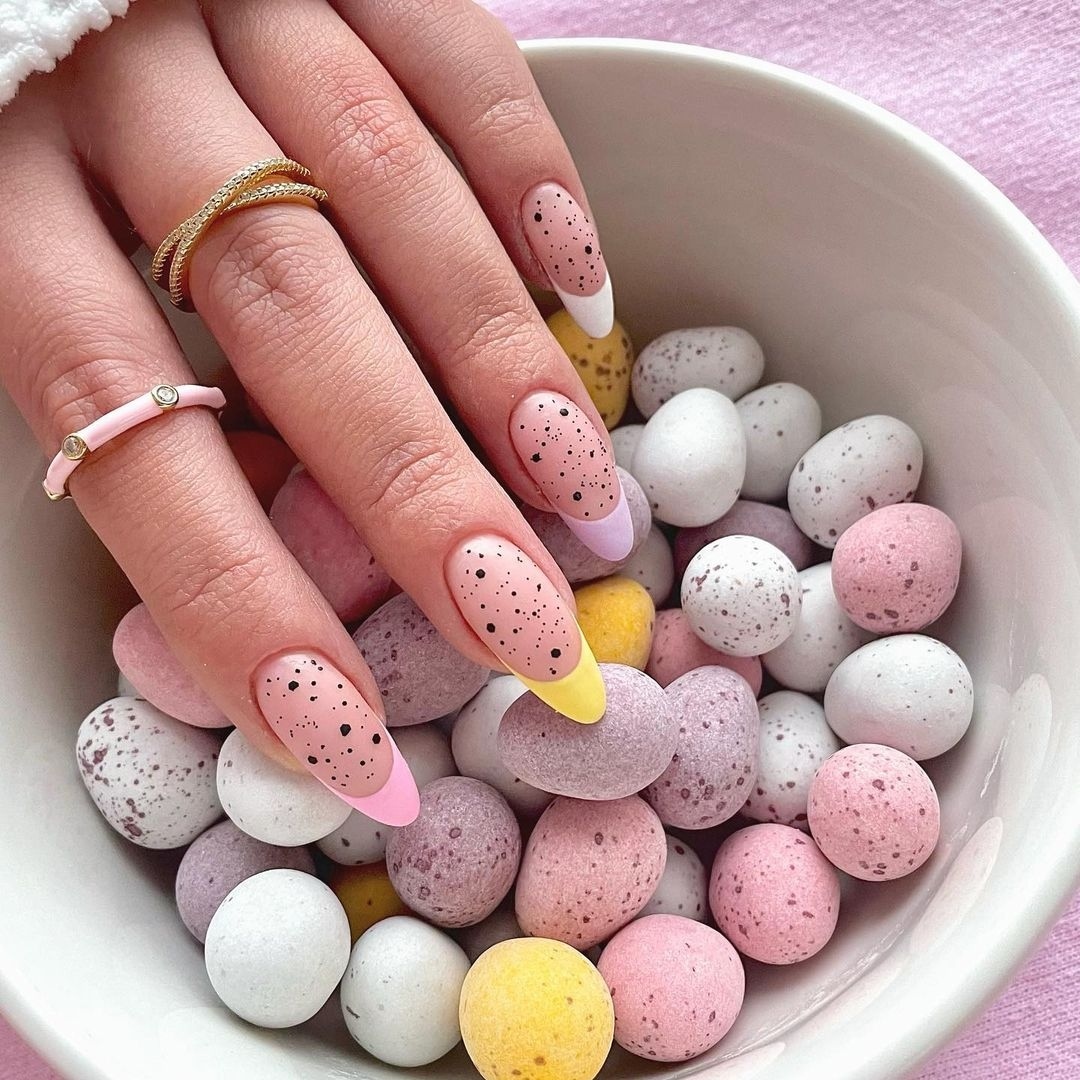
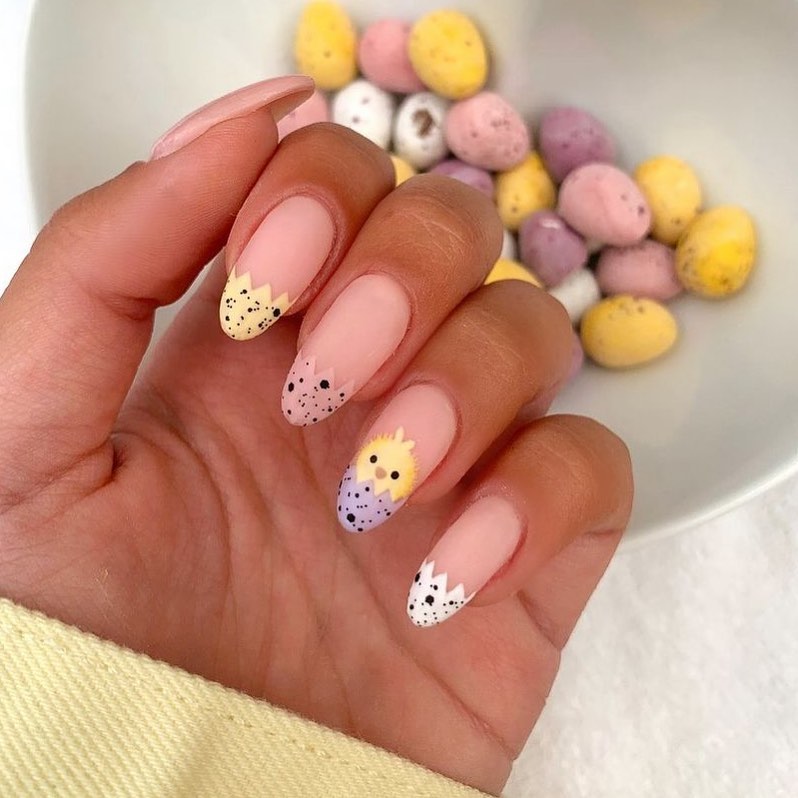
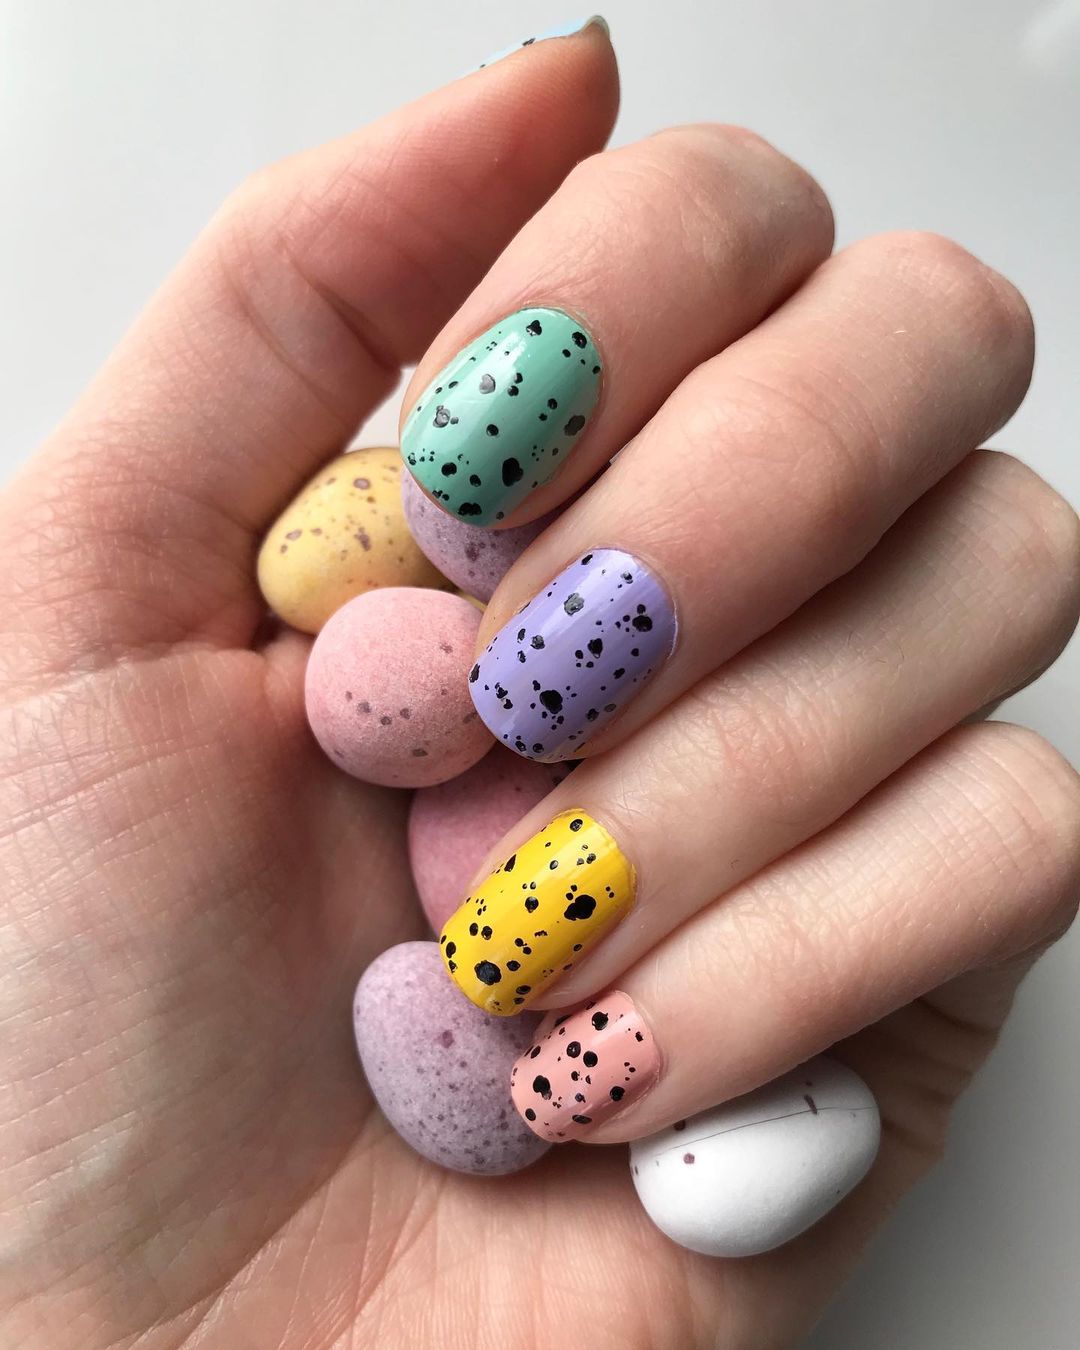
4.
Mini Egg Easter Tip Pastel Nails
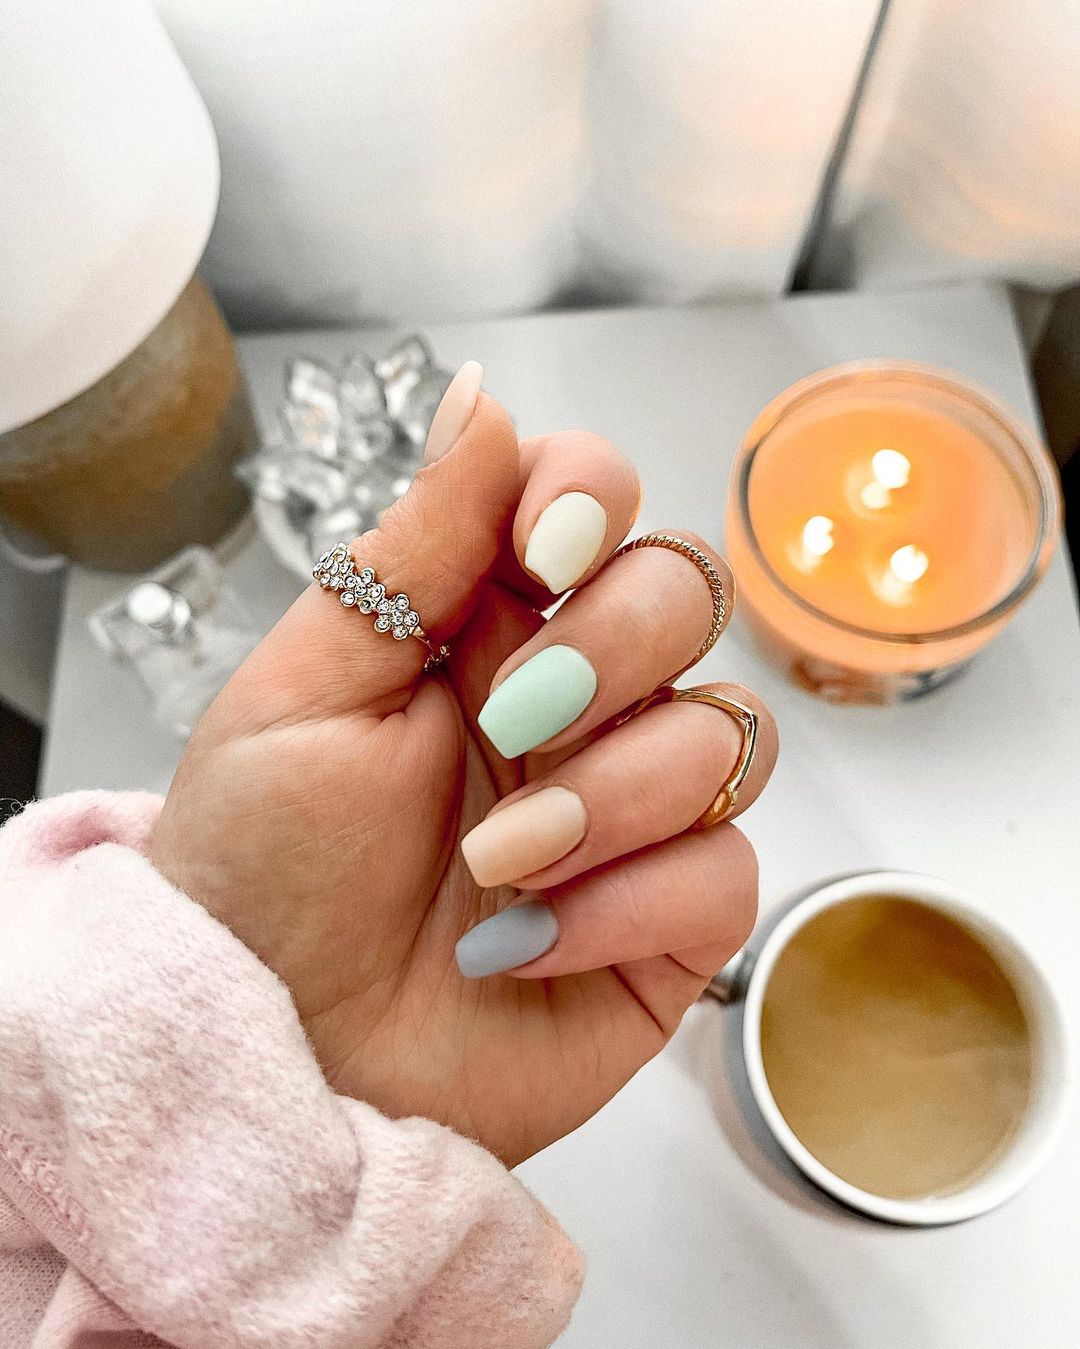
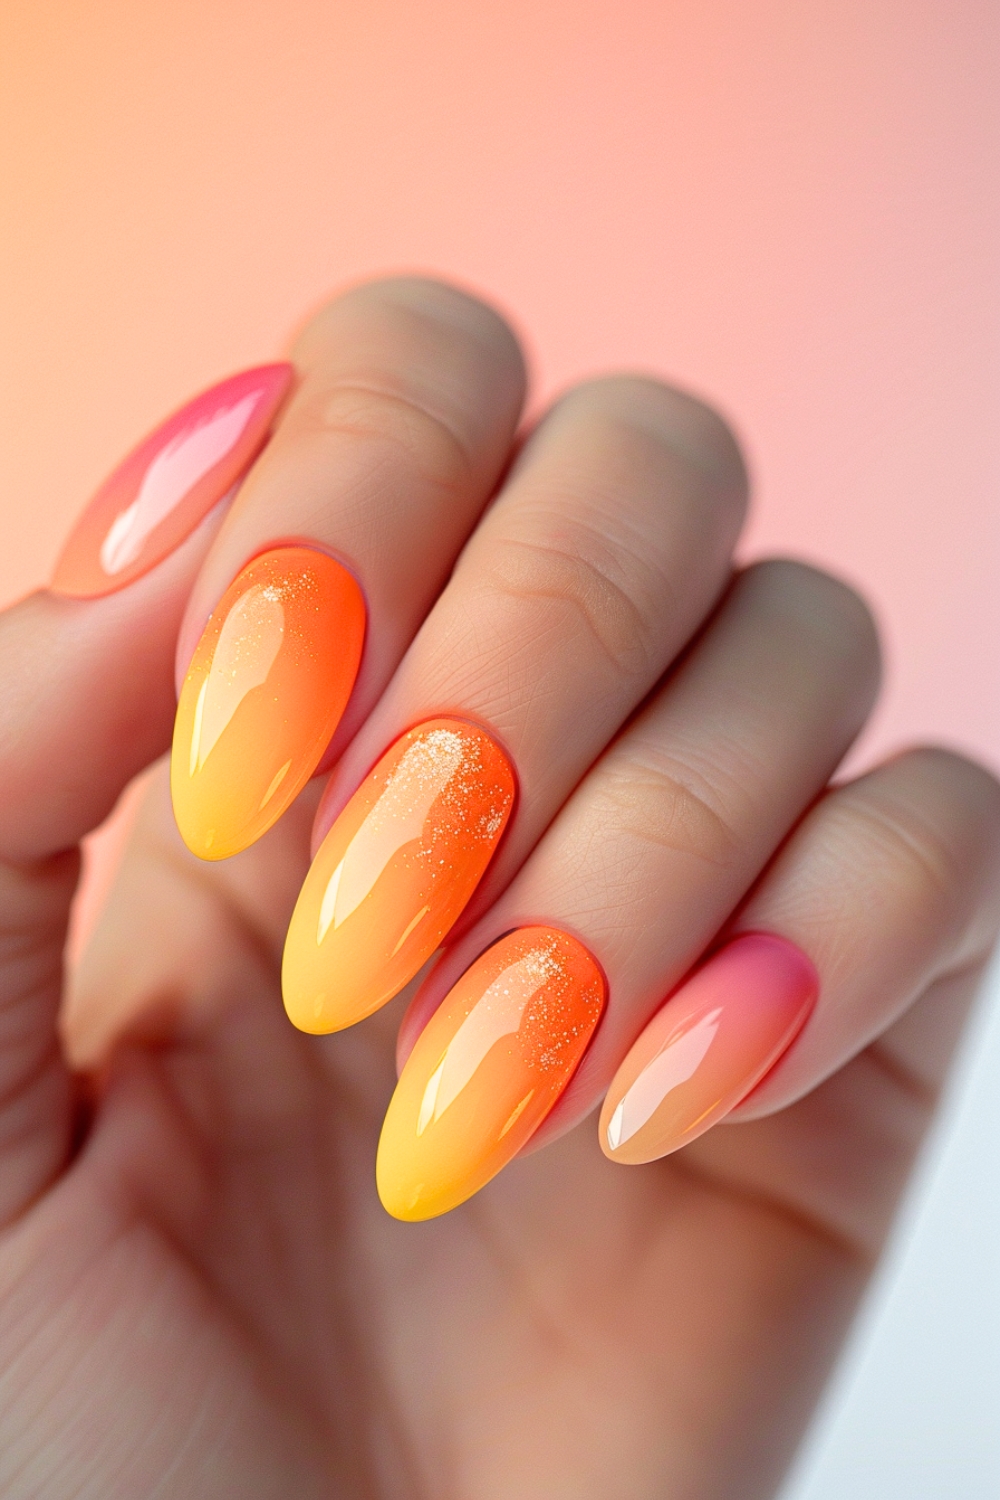
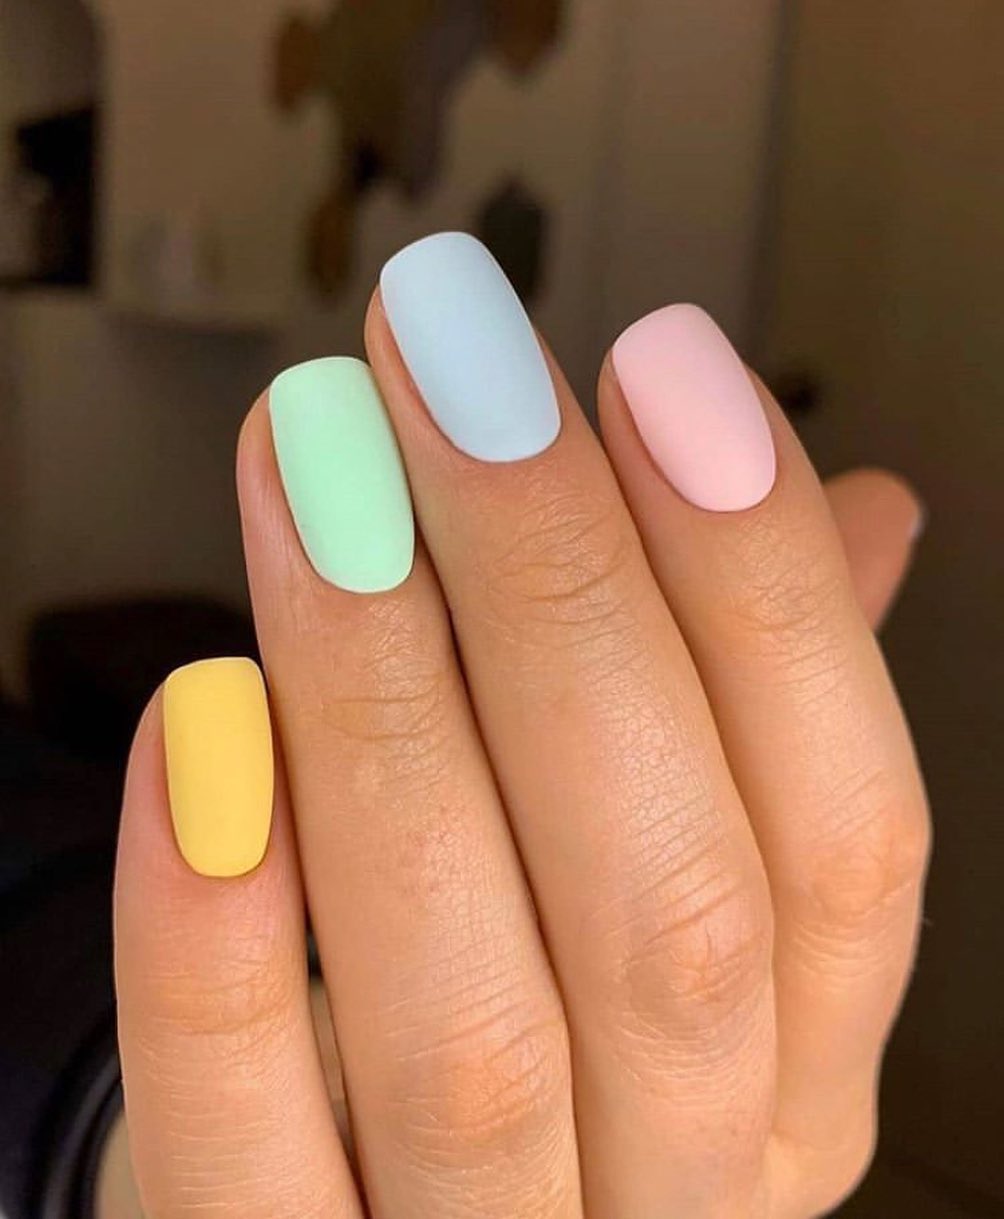
5.
Gradient Matte Pastel Square Easter Nails
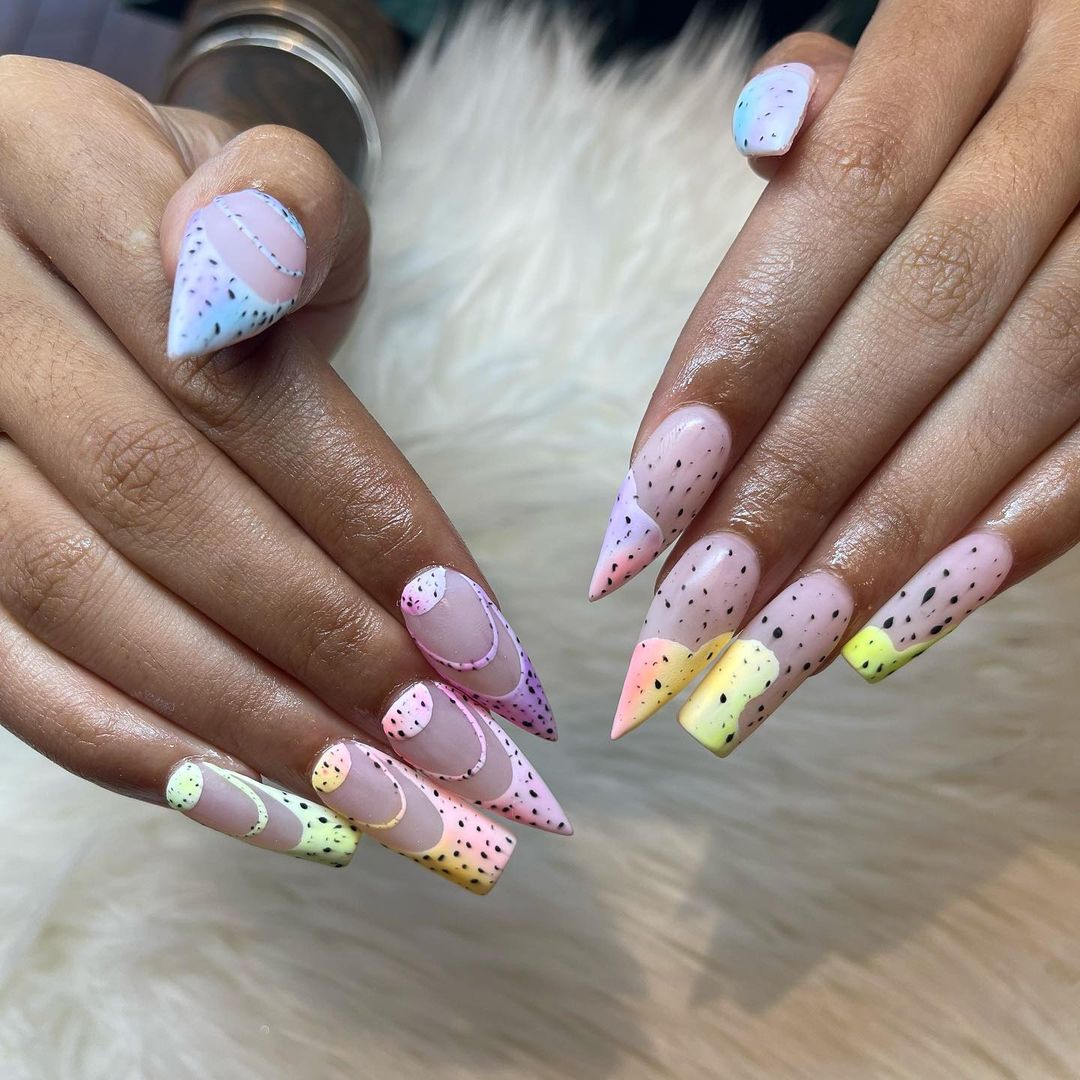
6.
Stiletto and Coffin Combo Easter Egg Dip Nails
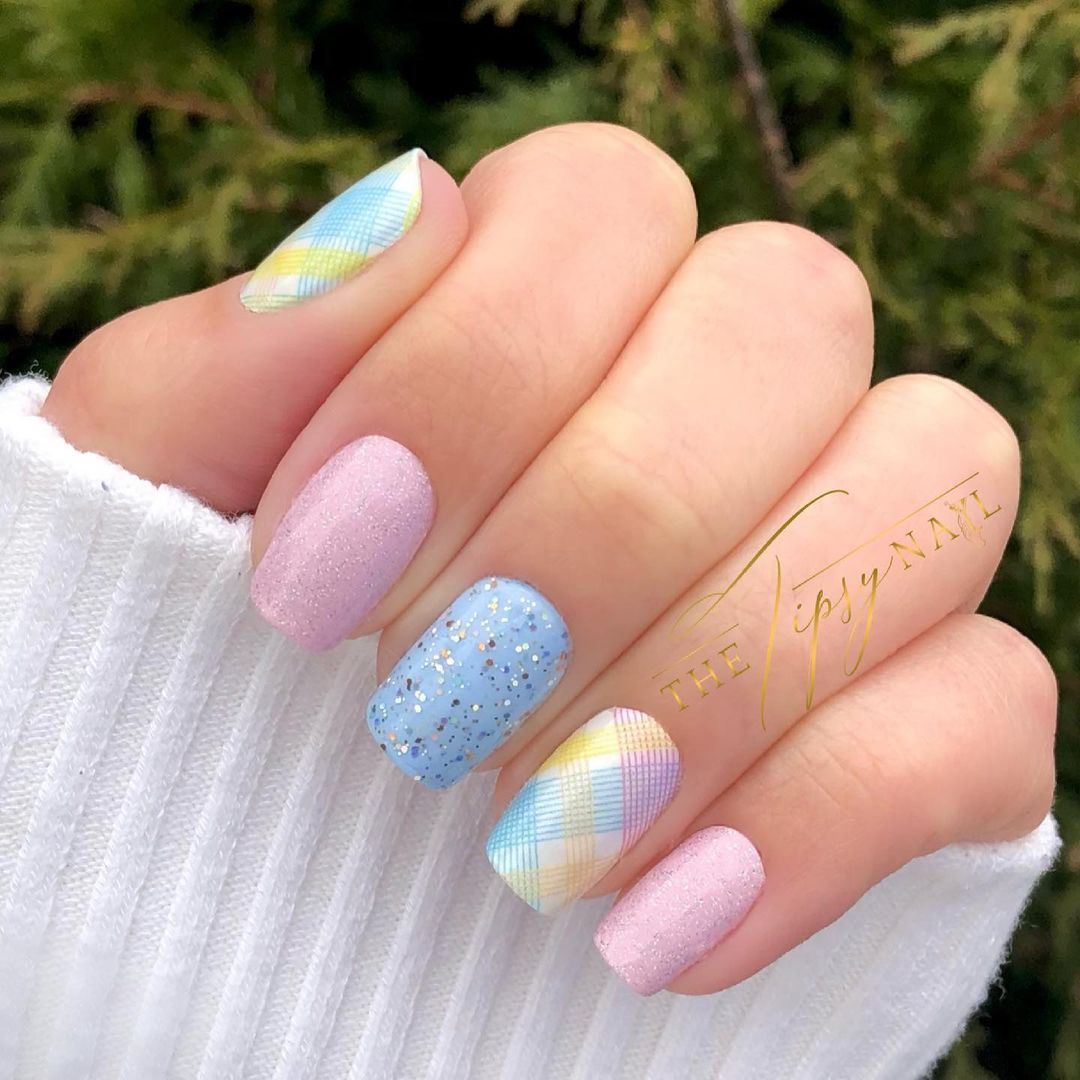
7.
Easter Picnic Inspired Nail Art
8.
Cute Pastel Art oin Nude Nails for Easter
9.

Easter Stripes on Nude Nails
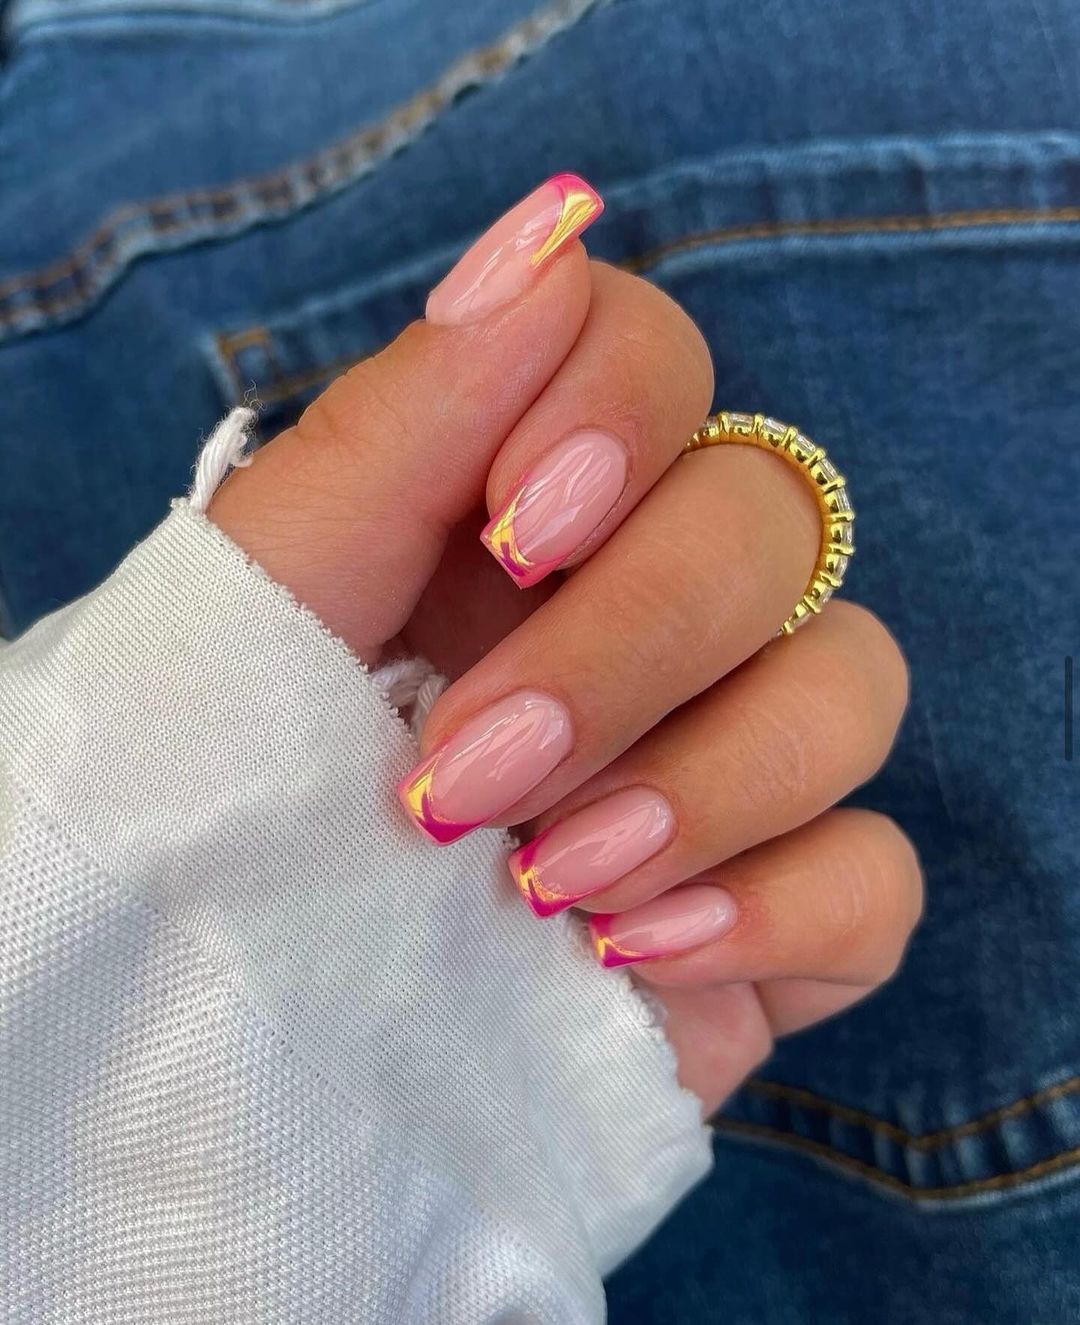
10.
Cute Easter Pastel Side Tipped Nails with Gold
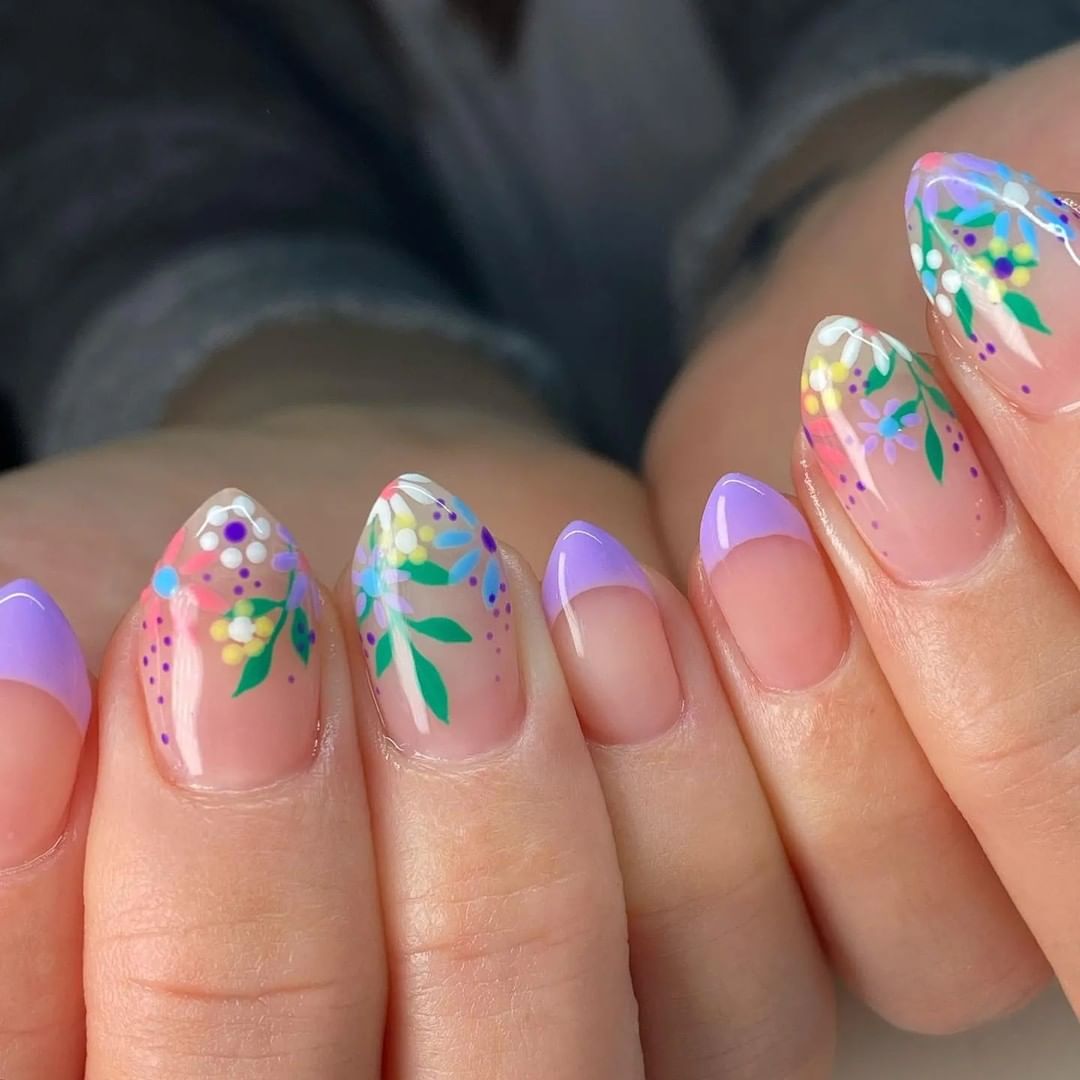
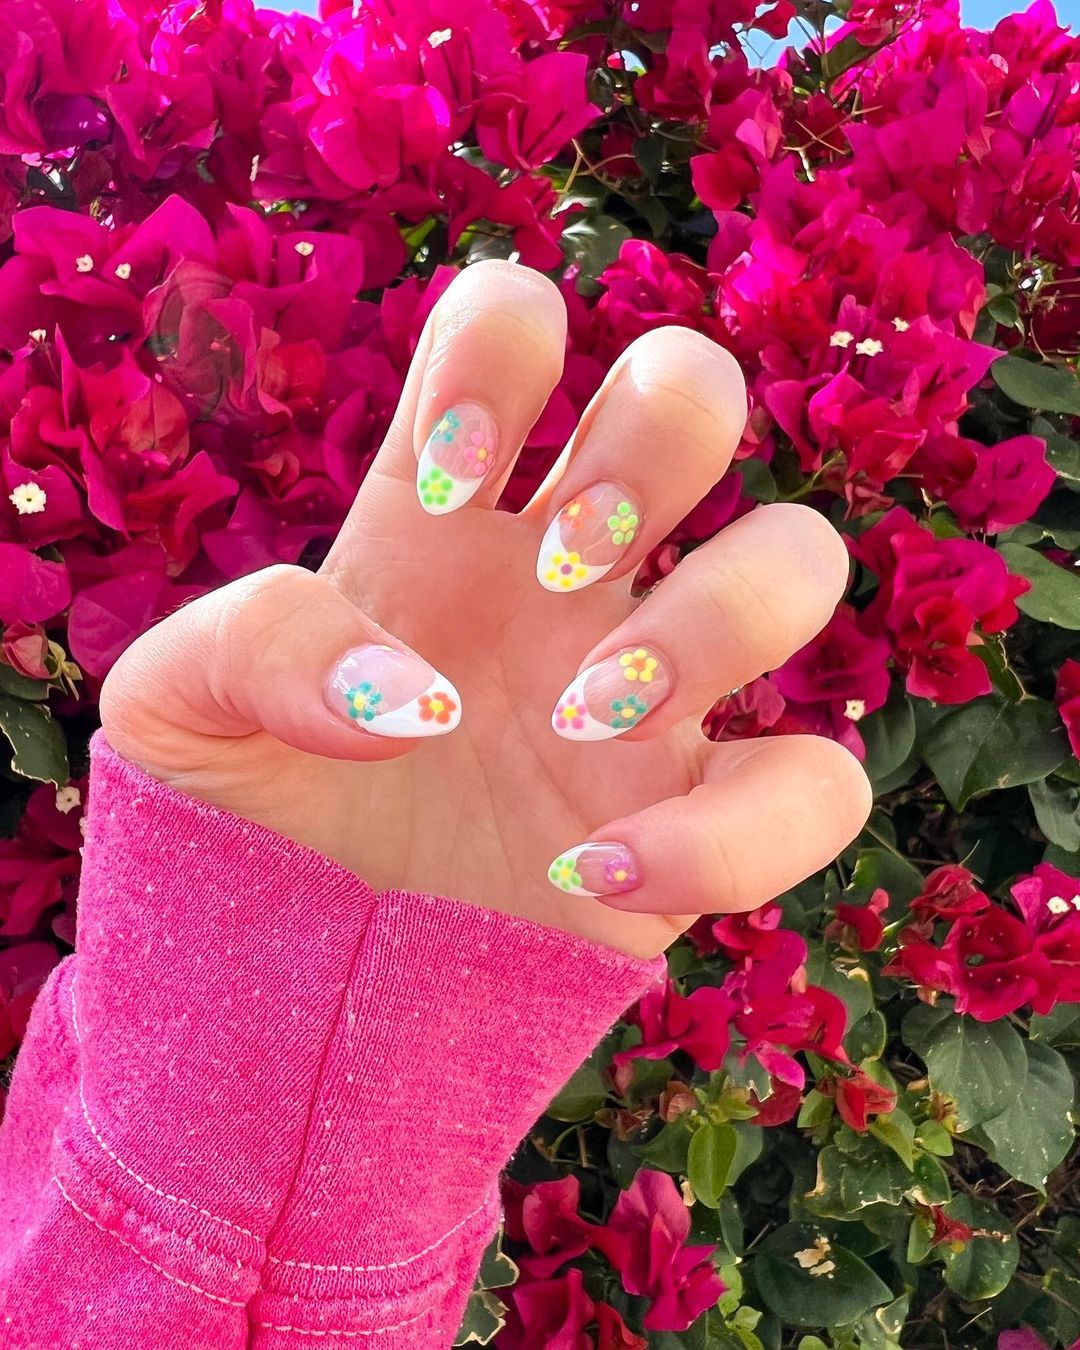
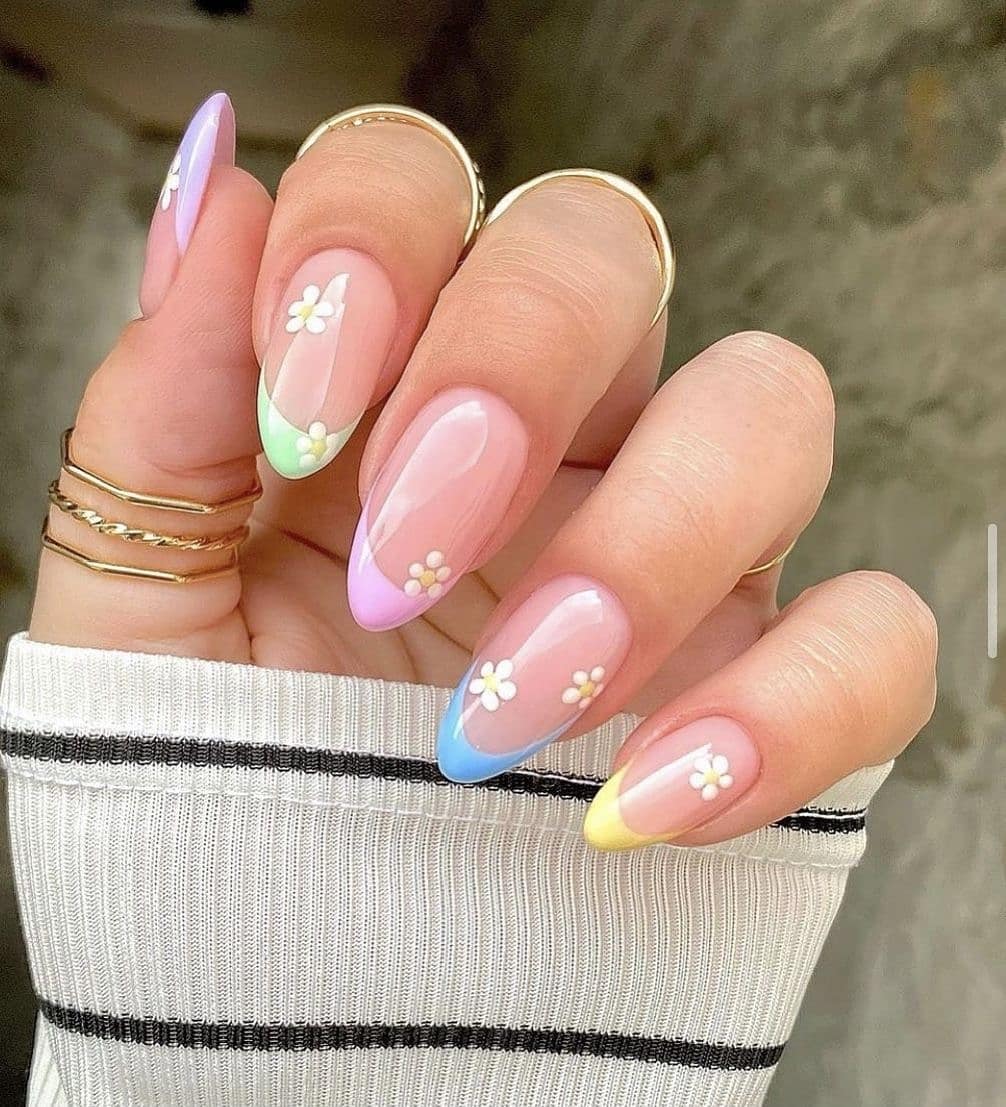
11.
Colorful Almond Pastel French Tips with Daisies for Easter
12.
Funny Easter Egg Nails Art
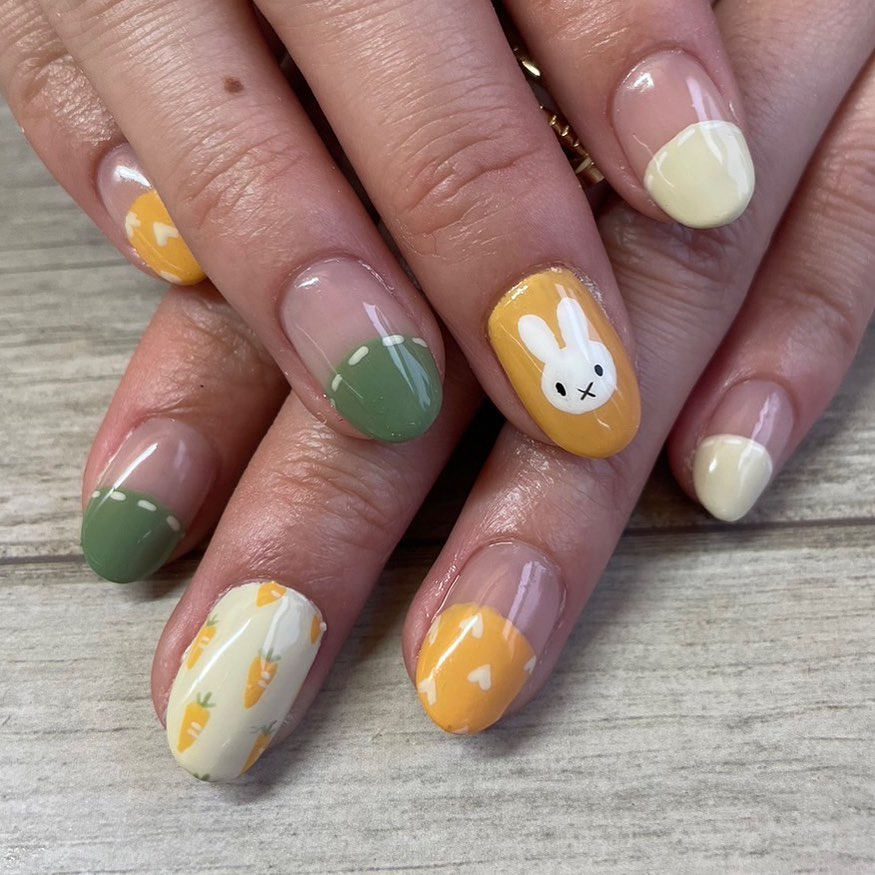
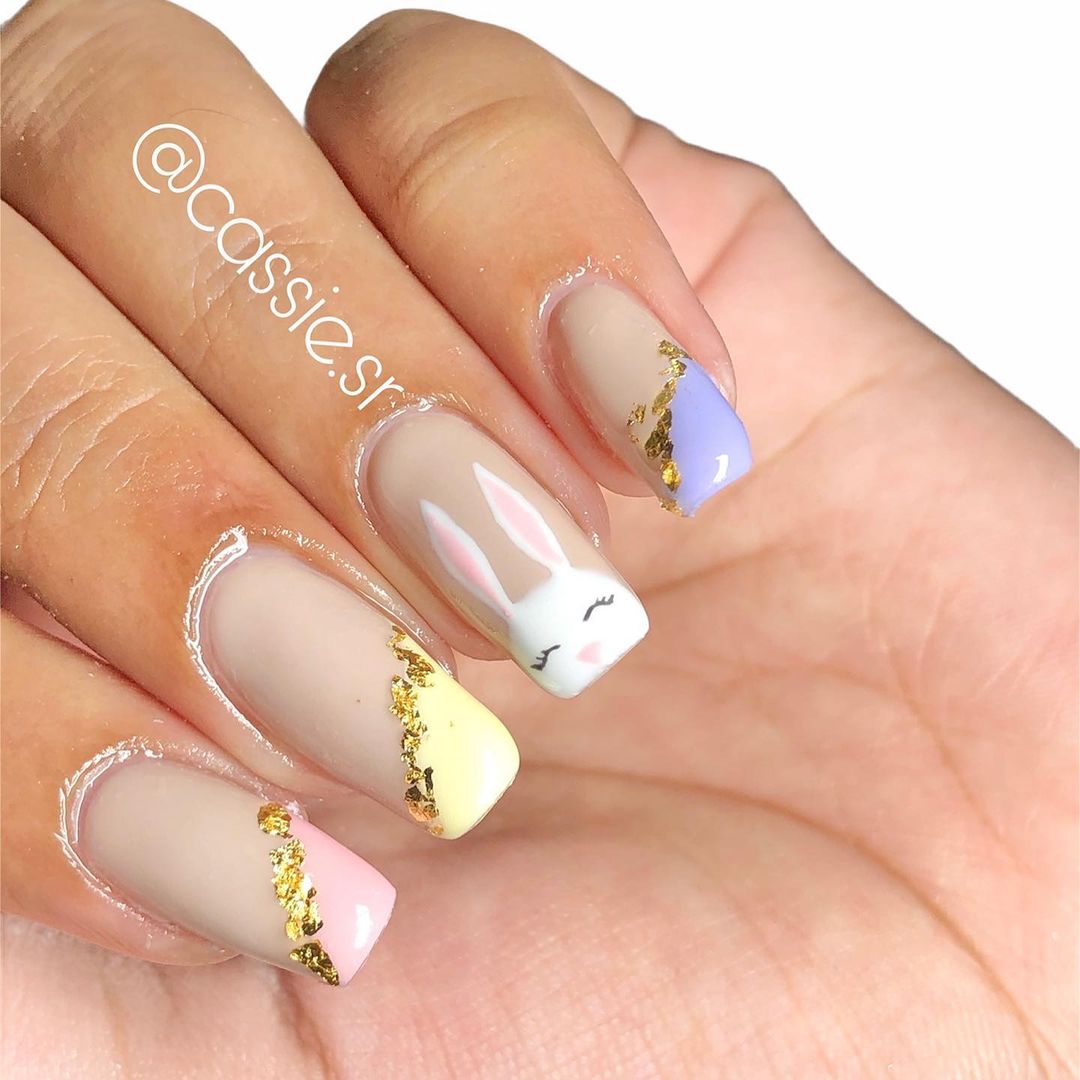
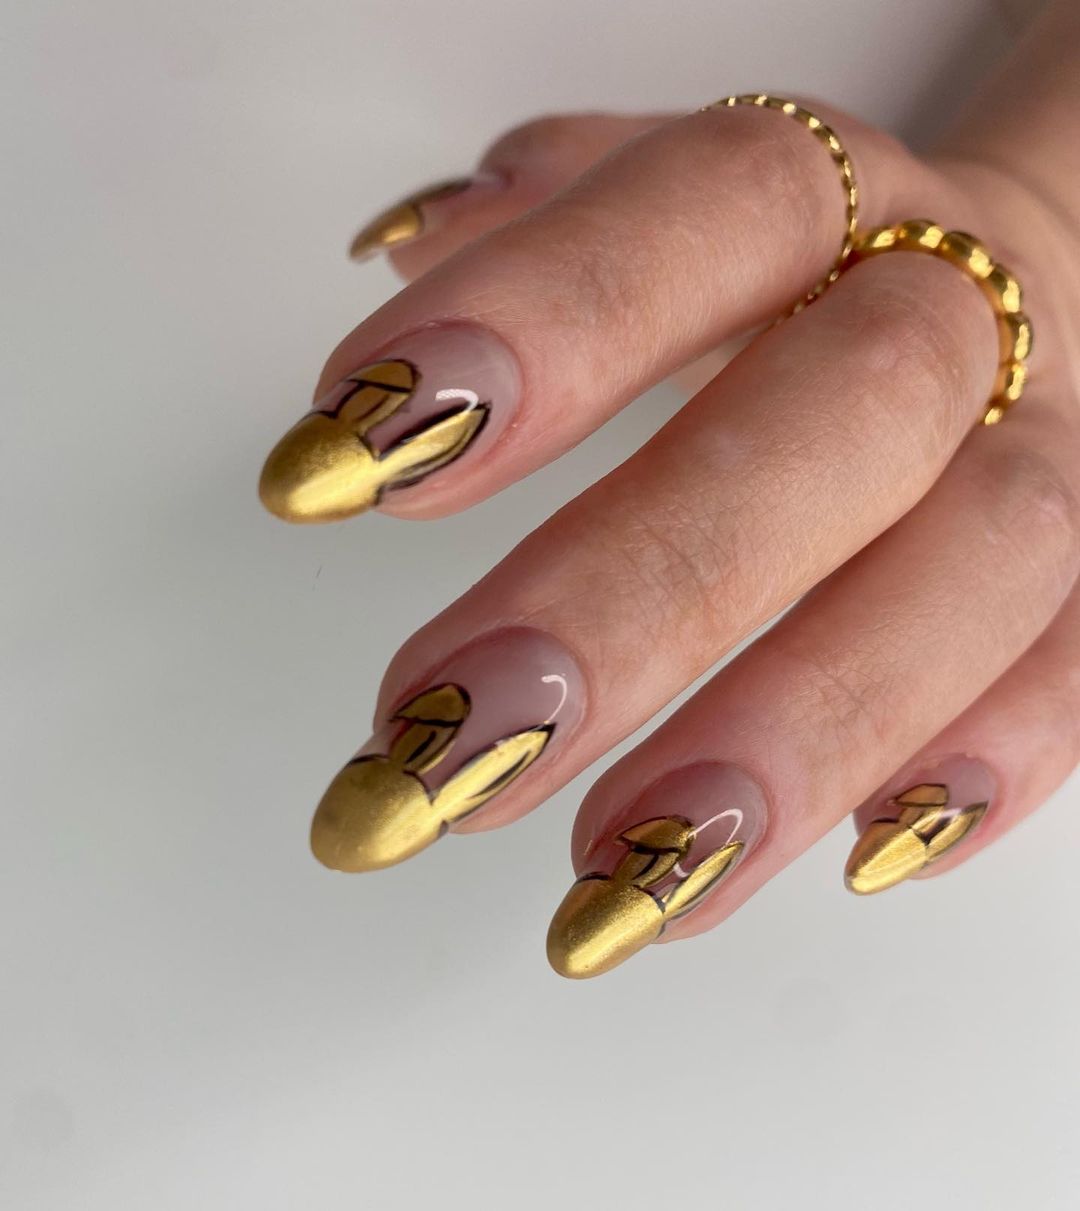
13.
Golden Easter Bunny Tipped Nails
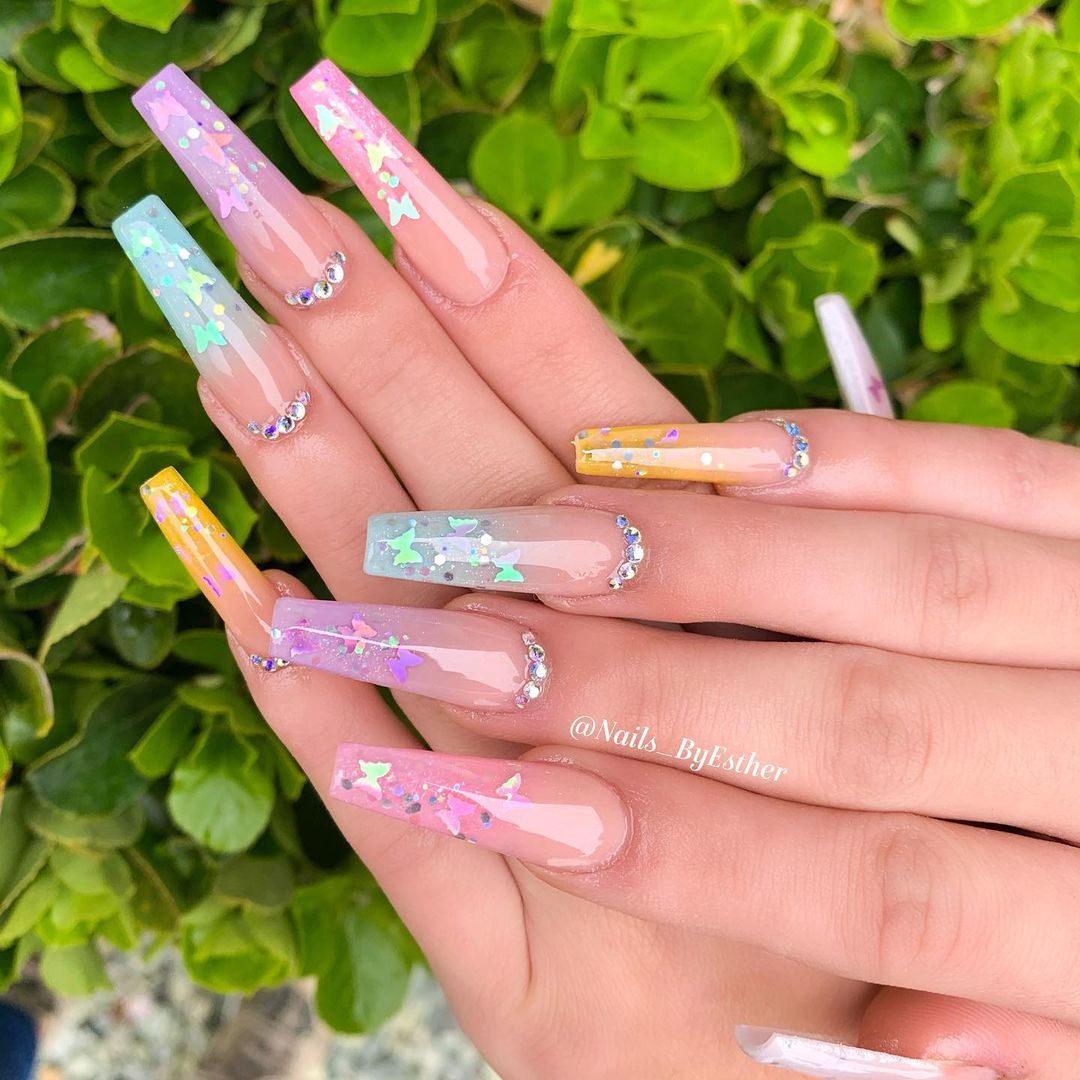
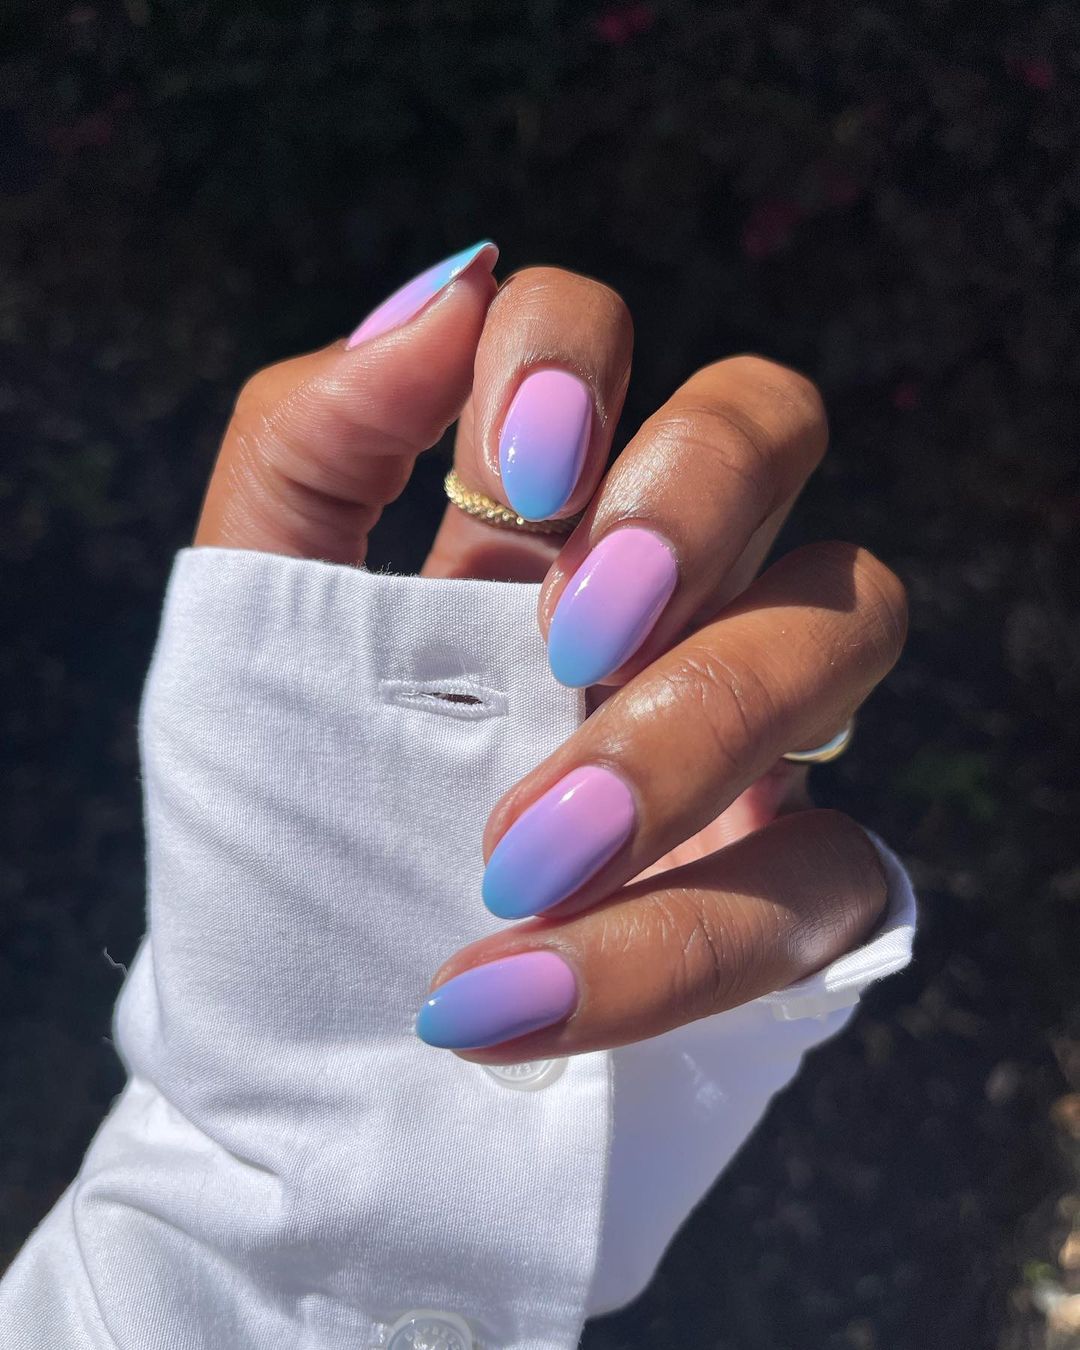
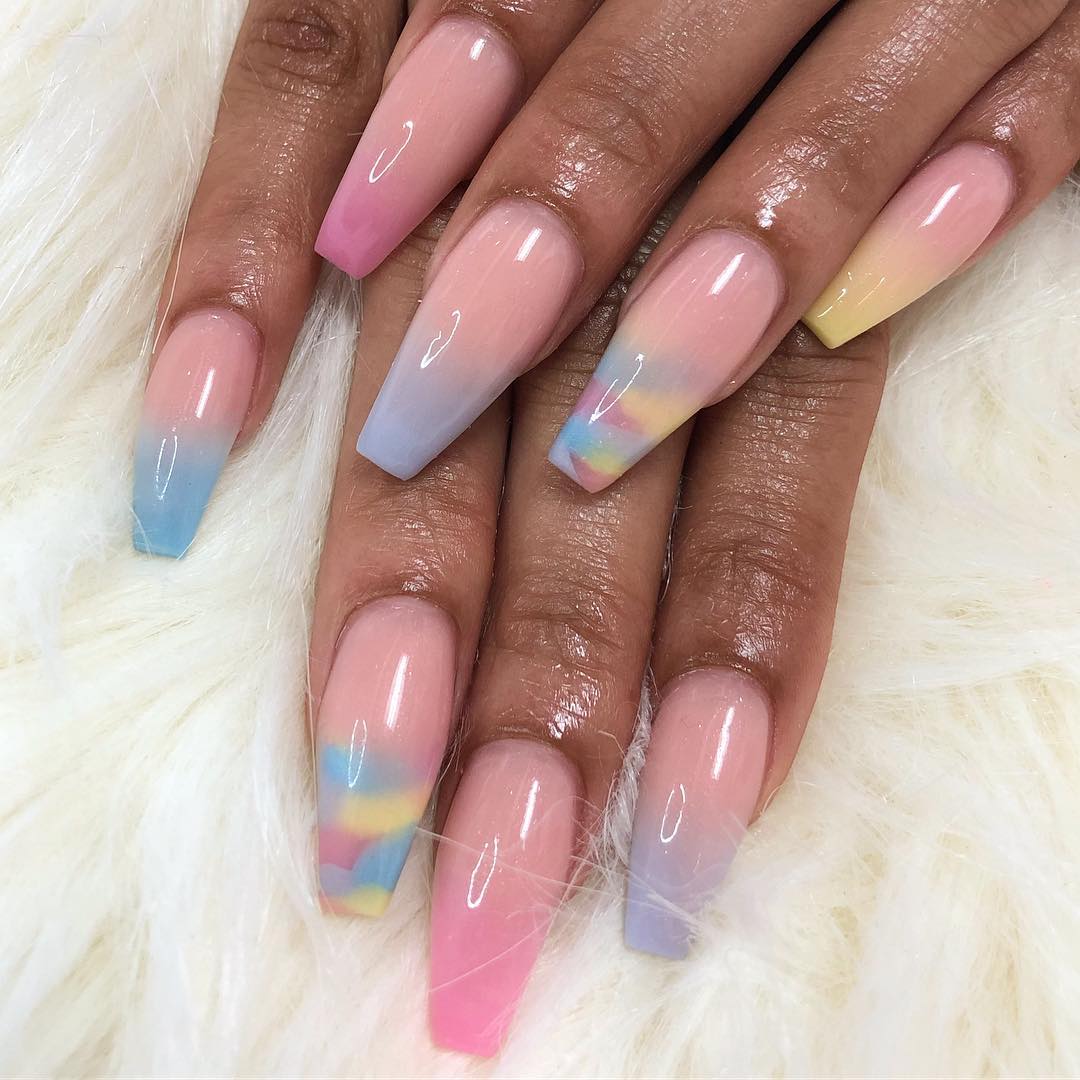
14.
Cotton Candy Ombre Coffin Nails for Easter
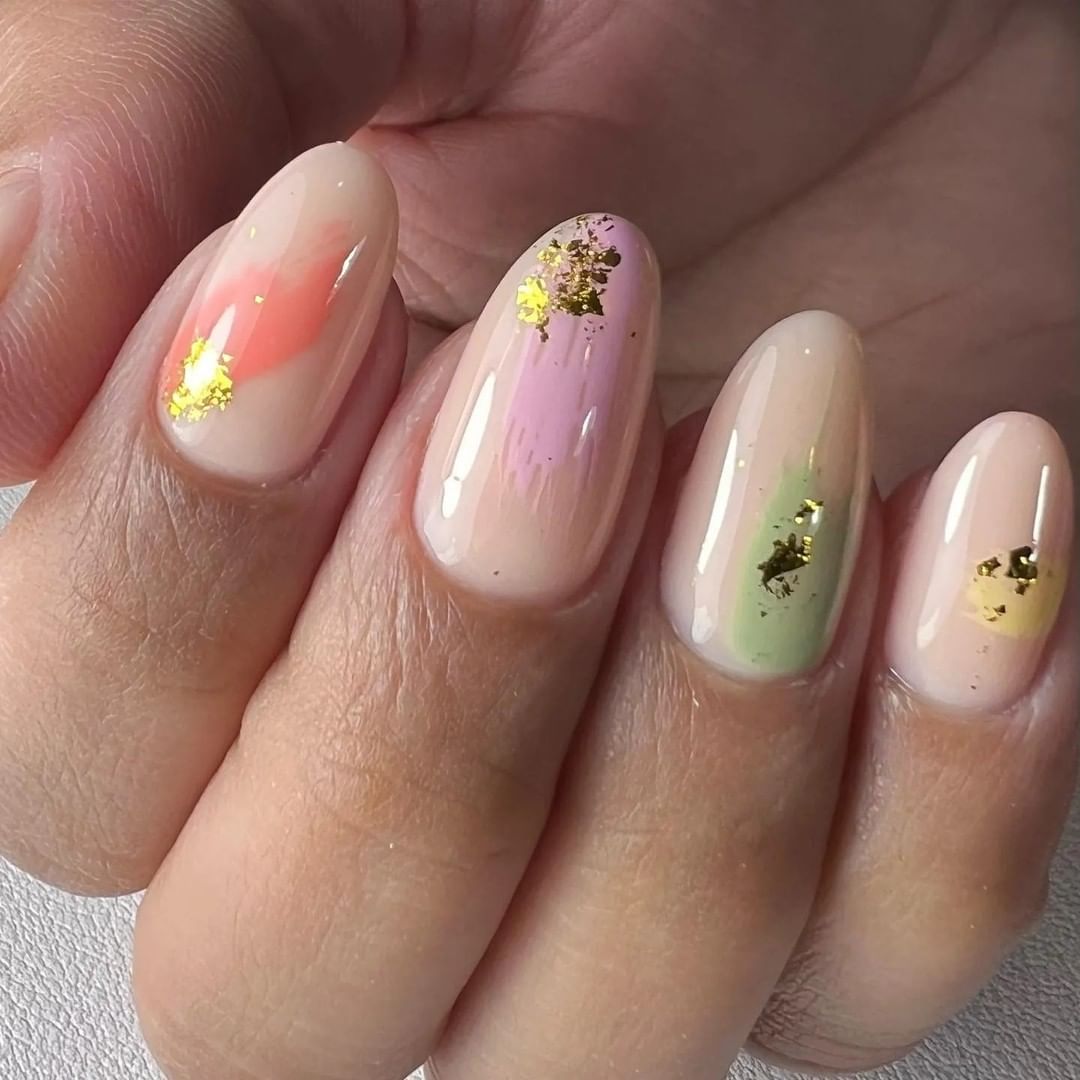
15.
Classy Nude Nails with Pastel Paint and Gold Flakes
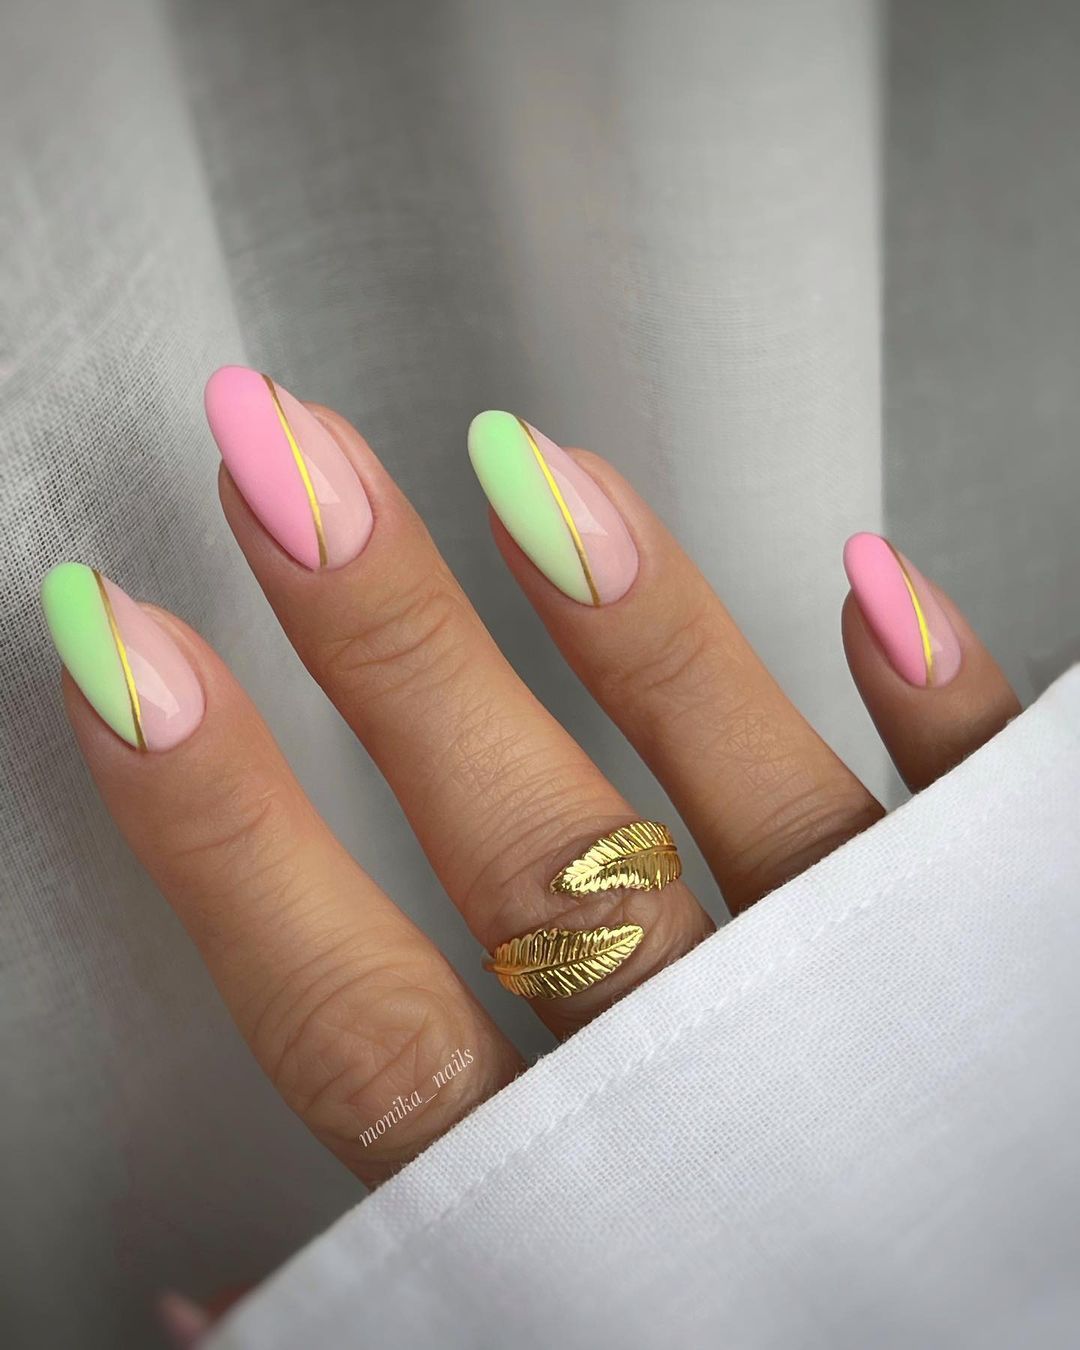
16.
Green and Pink Easter Combination Nails with Gold
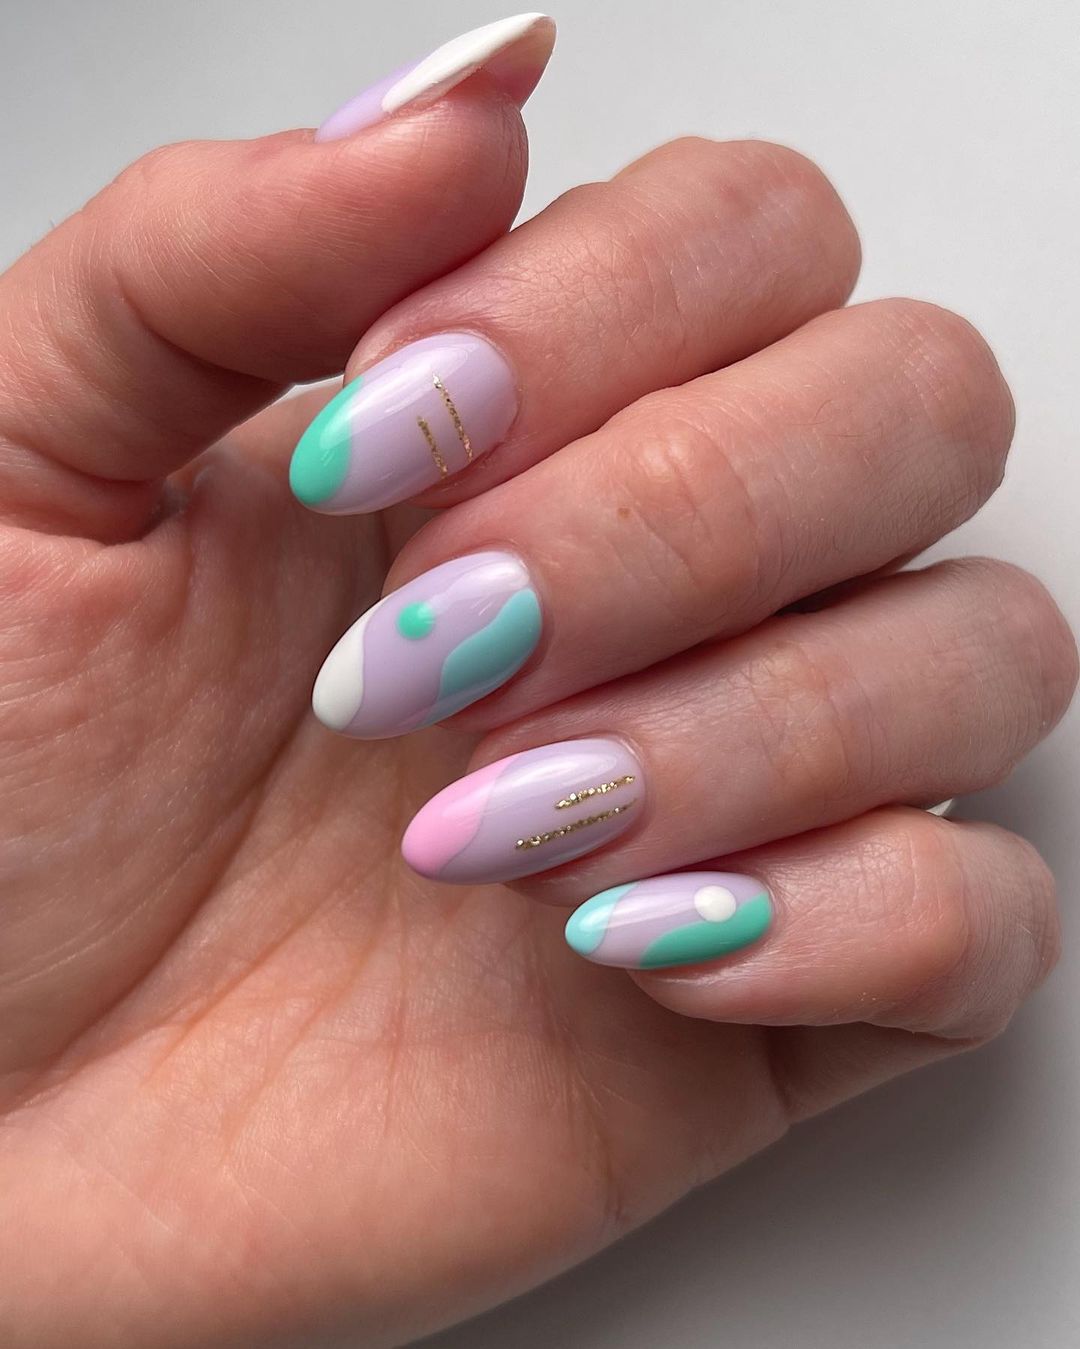
17.
Cute Easter Dip Abstract Art Nails
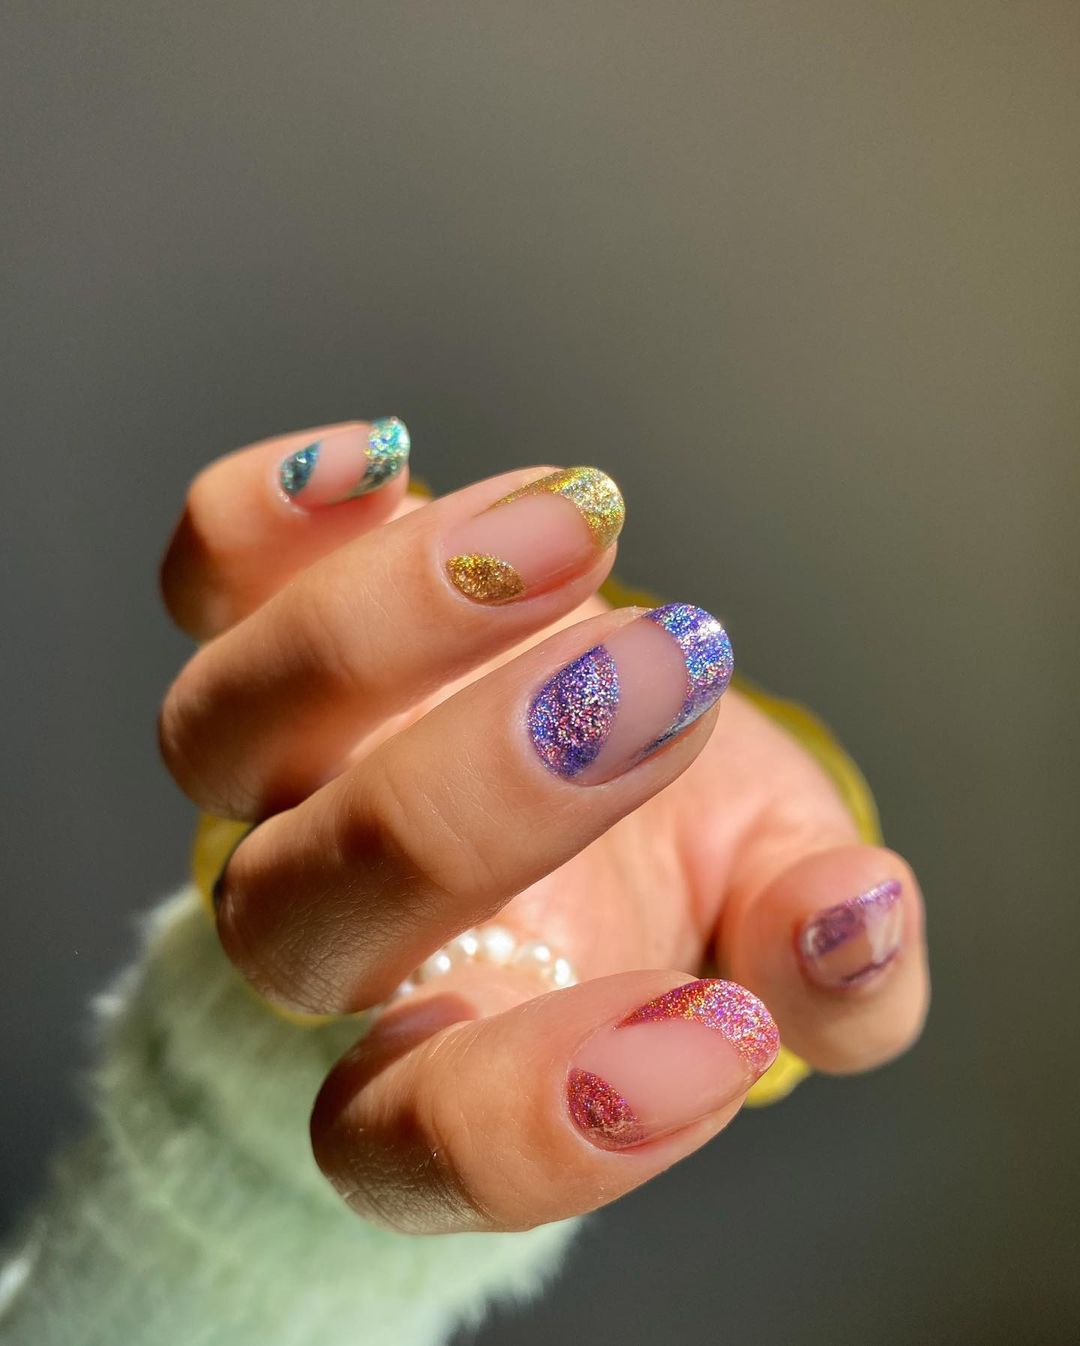
18.
Easter Gradient Pastel Square Nails
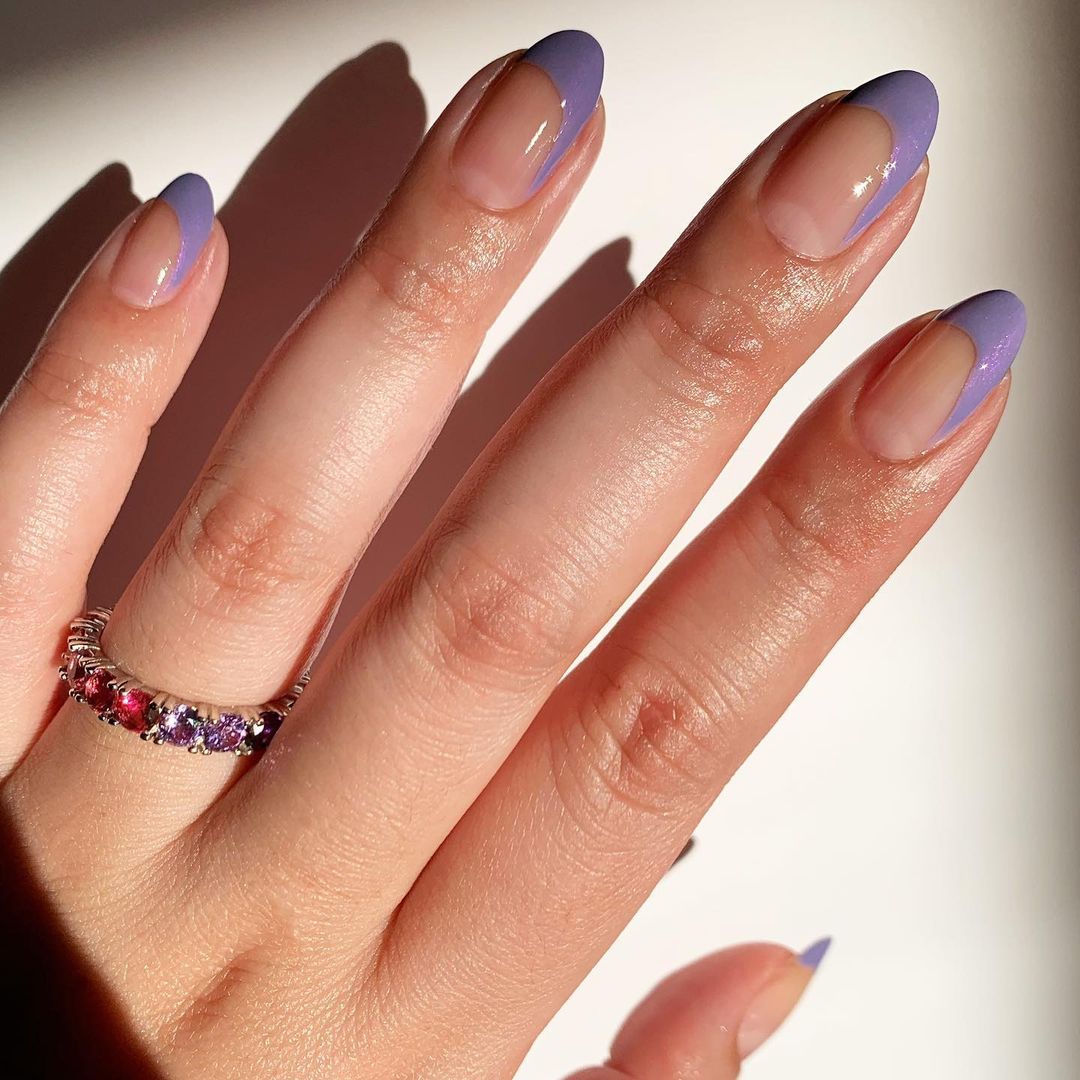
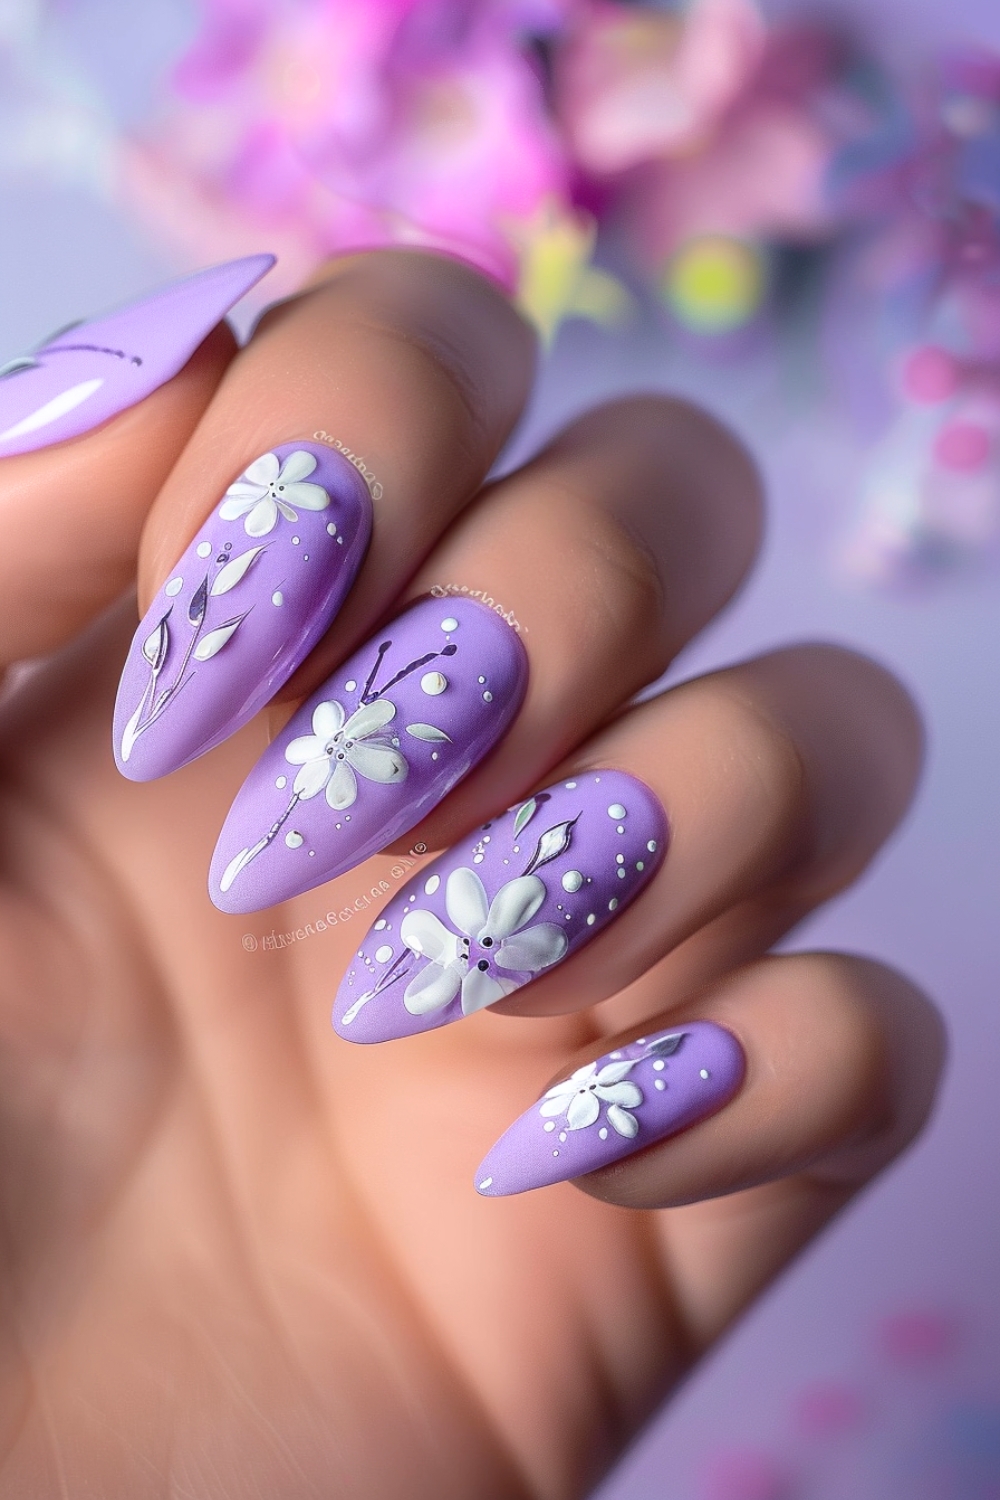
19.
Short Purple Almond French Tips with Floral Art
20.
Fine Line Pastel Easter Dip Simple Nails Design
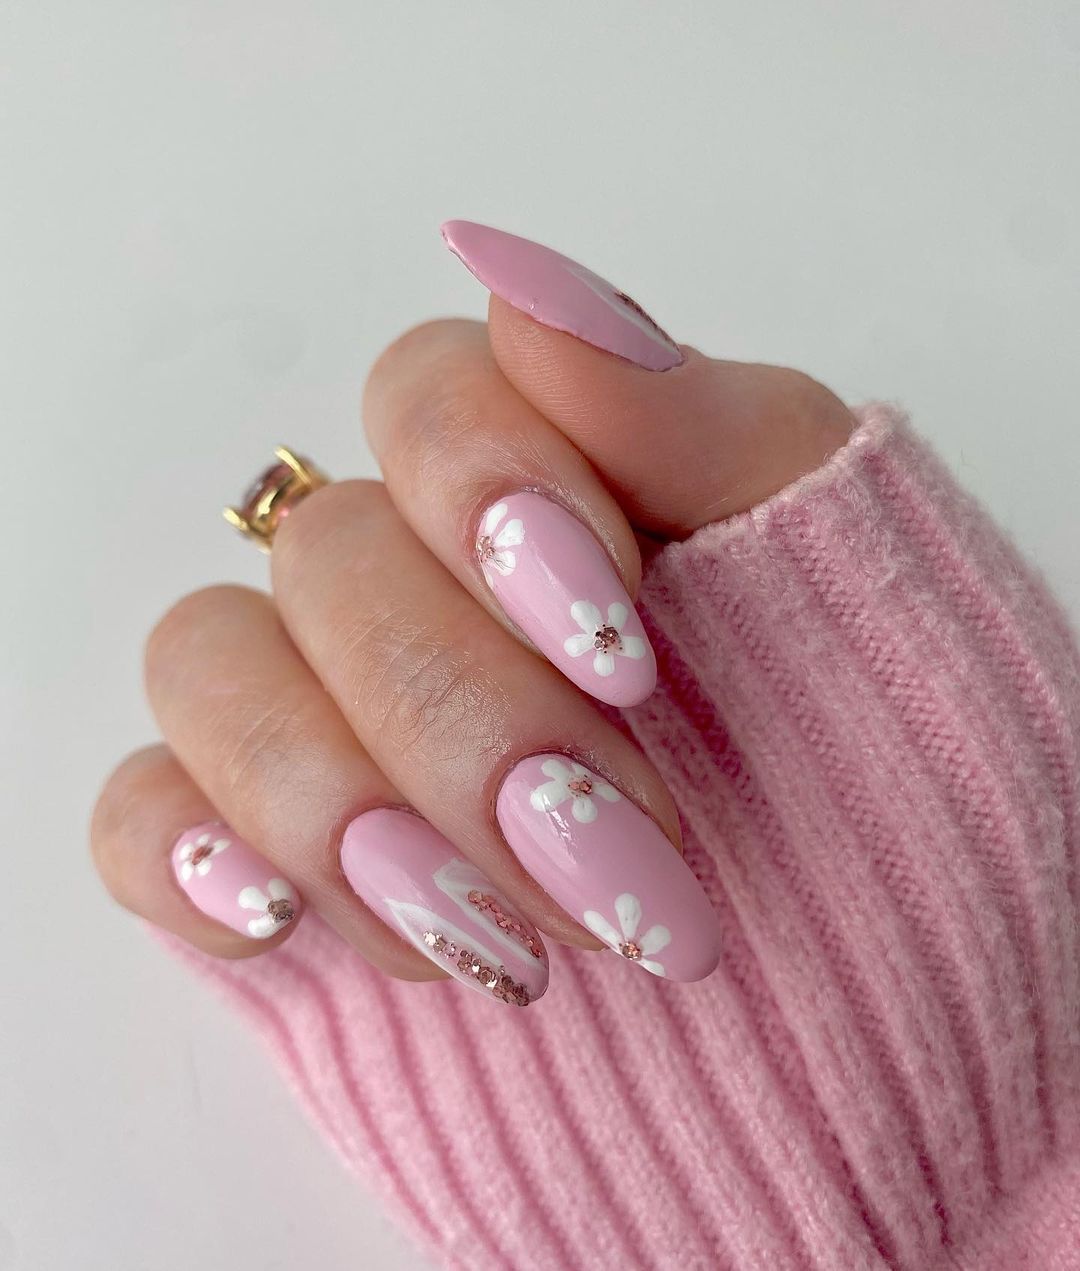
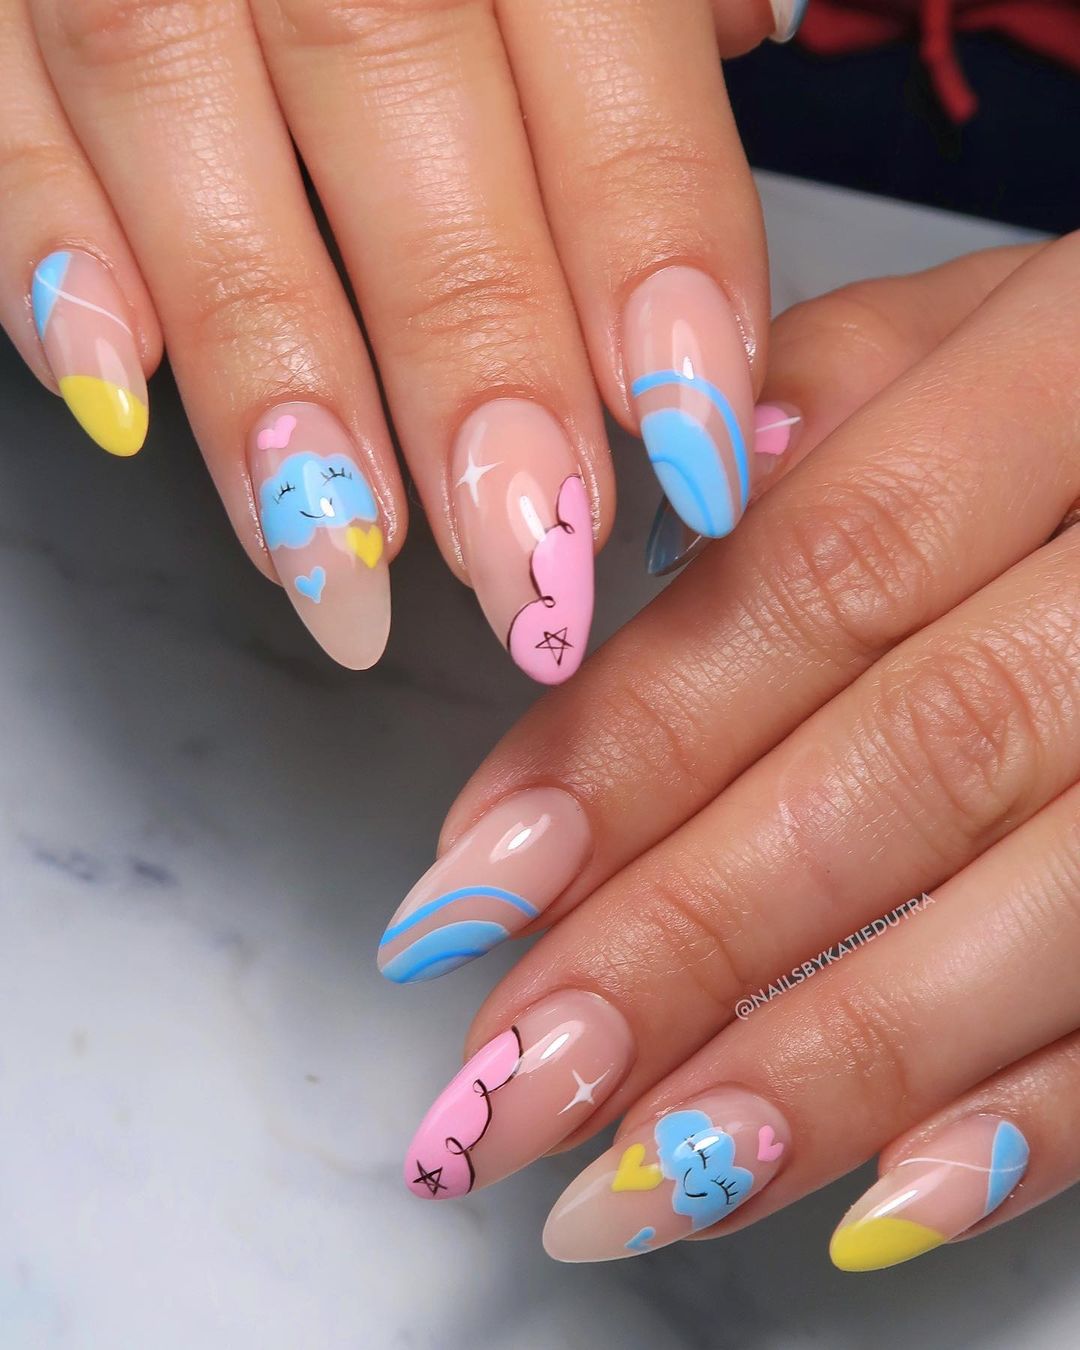
21.
Easter Bunny Ears and Floral Art Pink Nails with Glitter
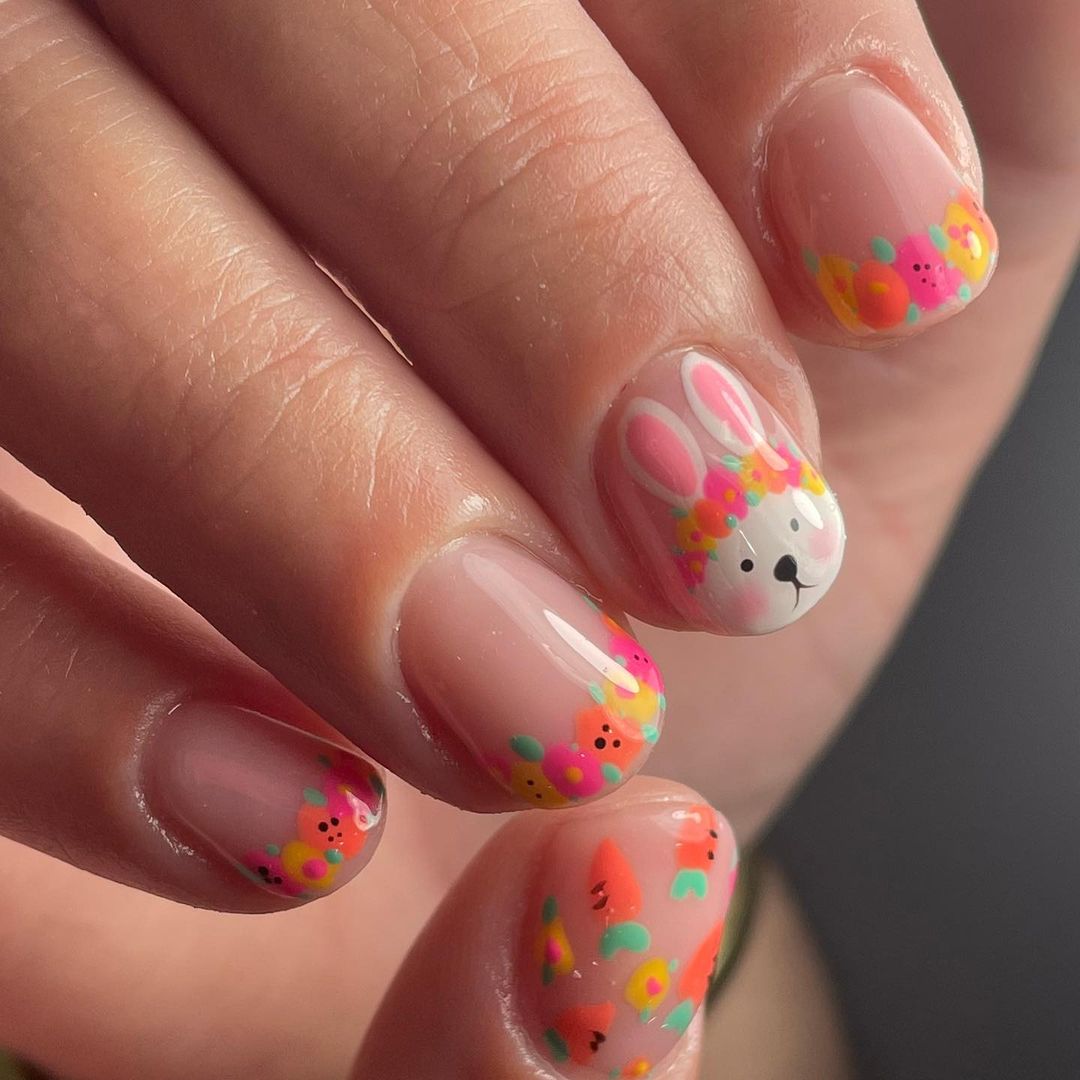
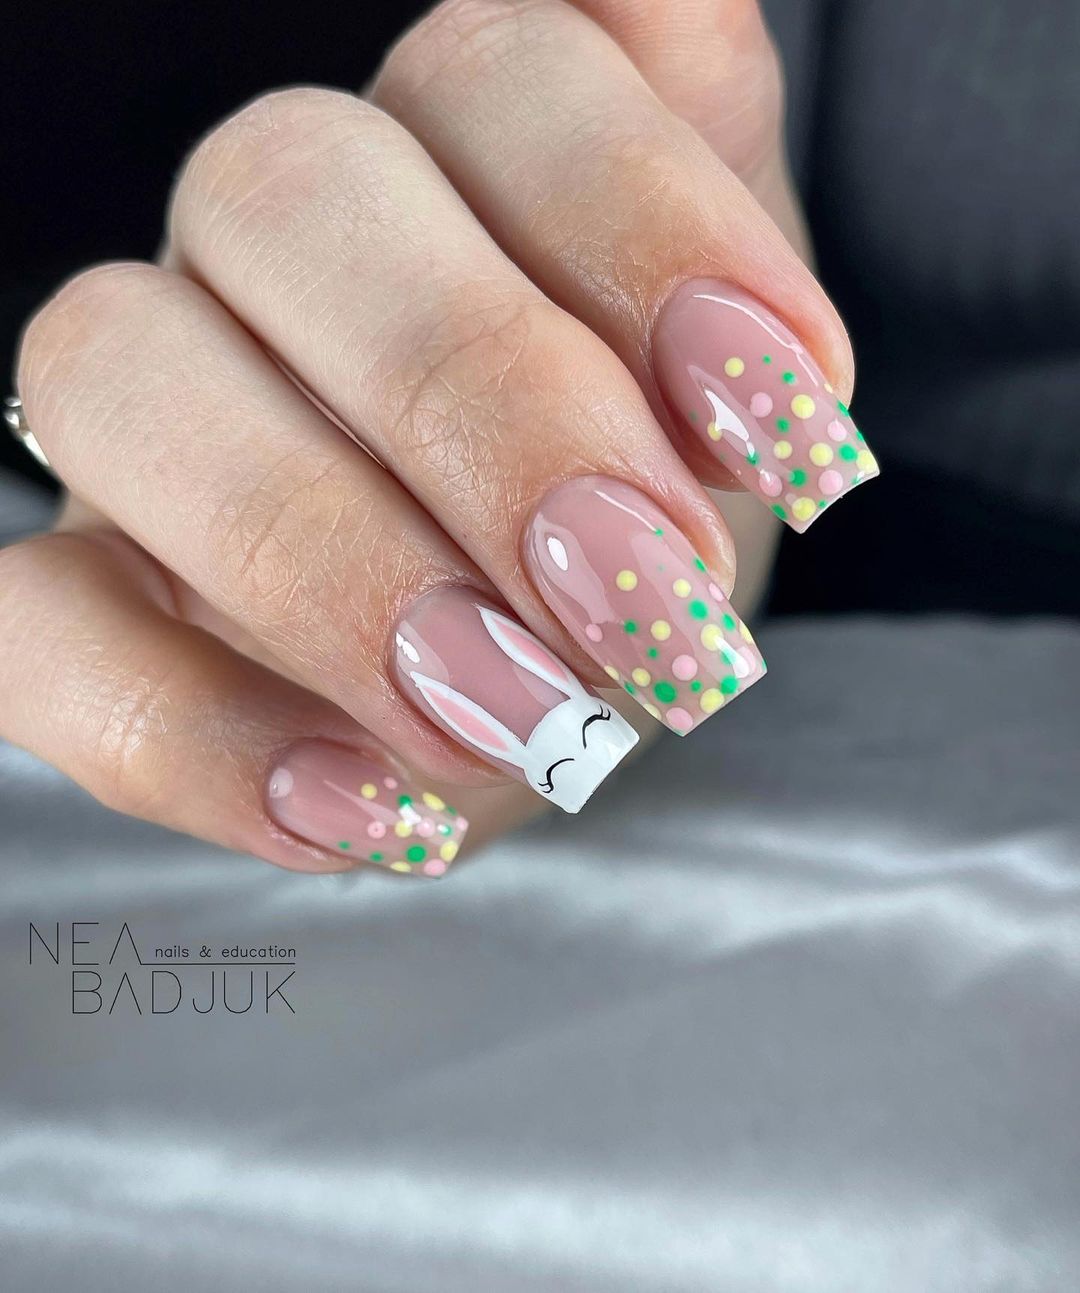
22.
Short and Cute Floral Tipped Nails with Bunny Art
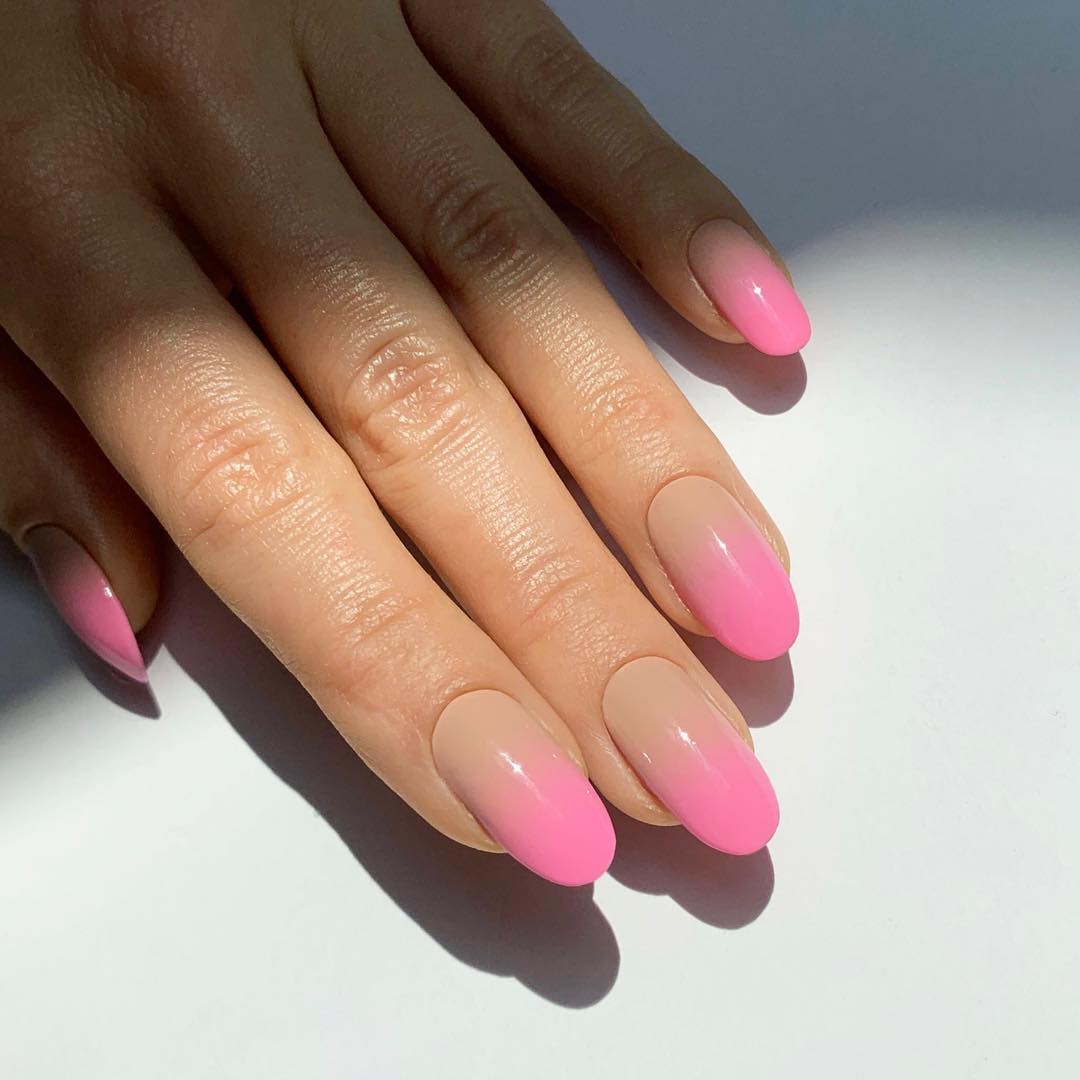
23.
Simple and Classy Pink and Nude Ombre Nails for Easter
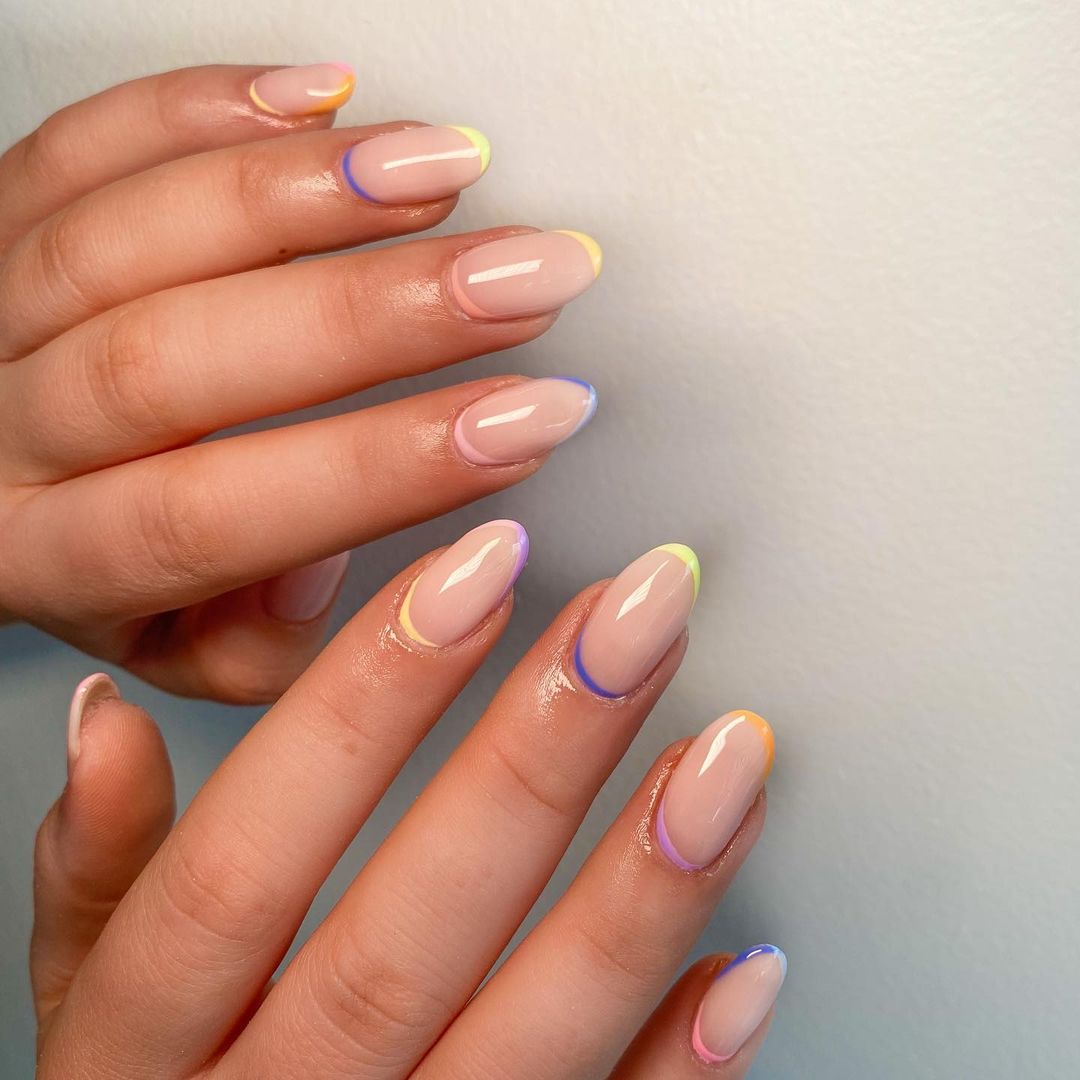
24.
Abstract Purple French Tipped Nails
25.
Light Pink Square Ombre Nails with Easter Bunny Art
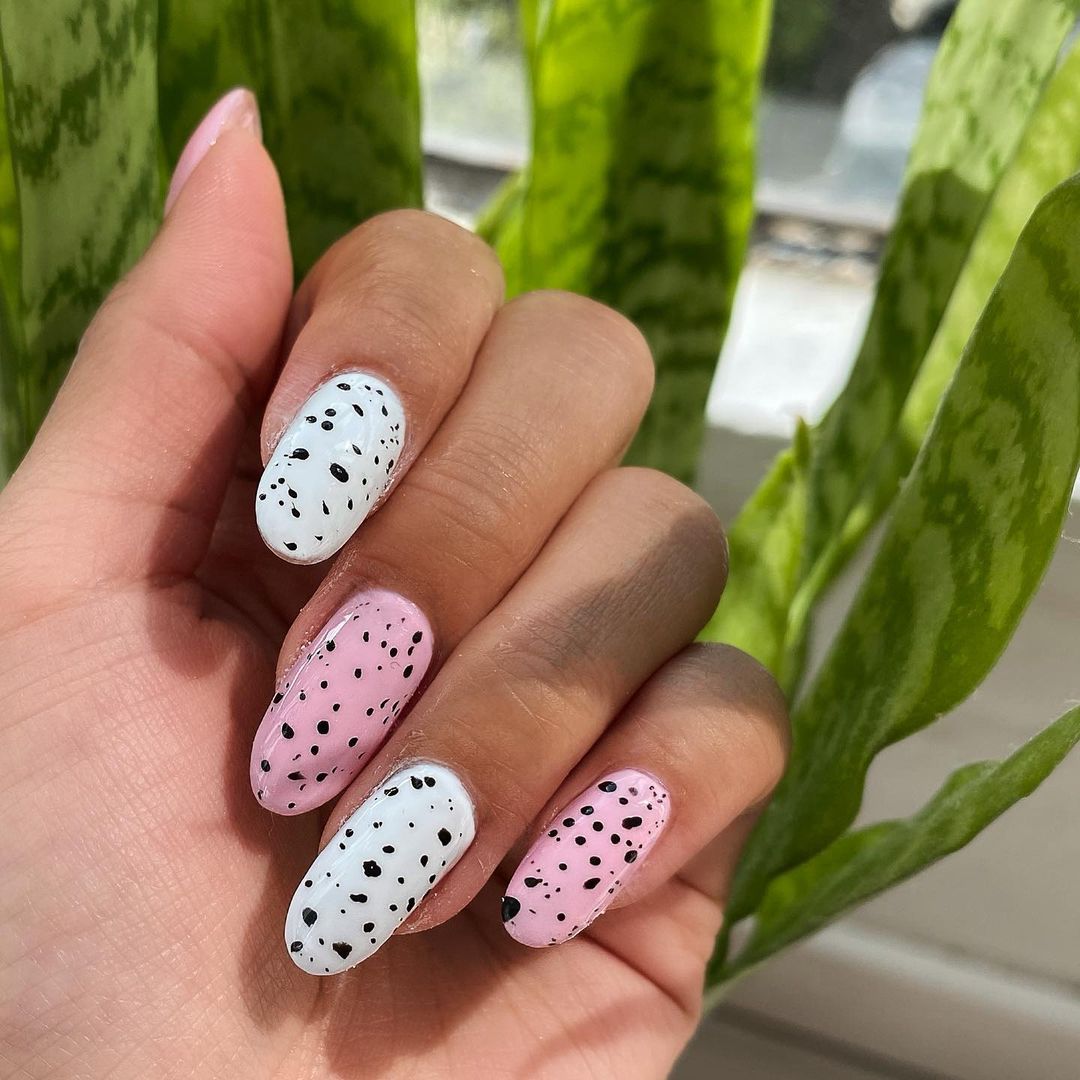
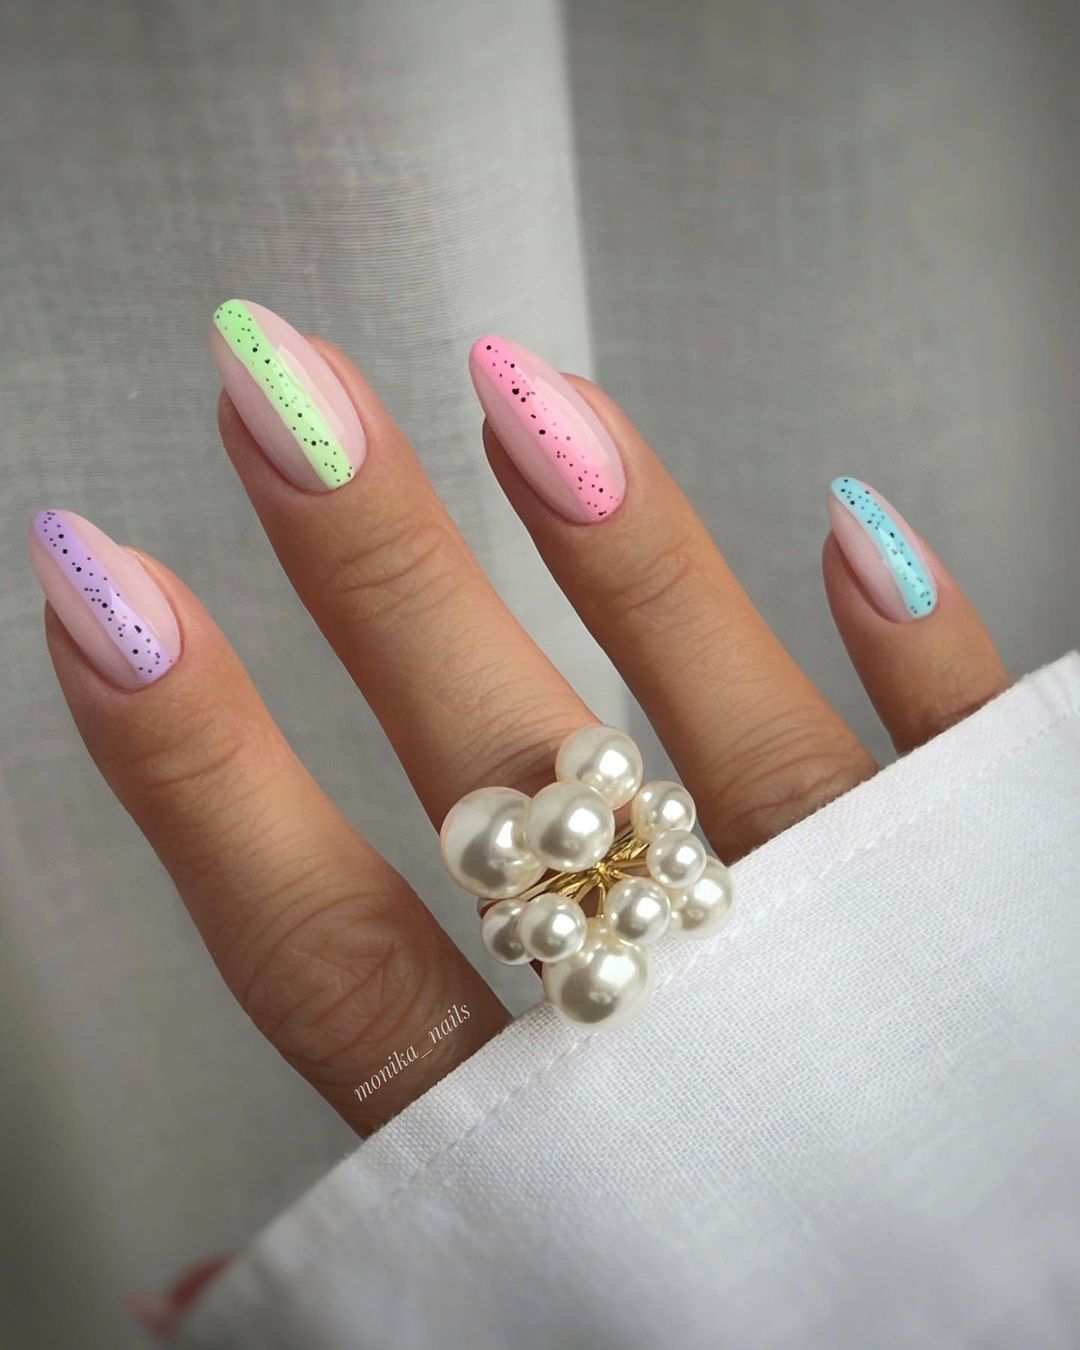
26.
Speckled Easter Dip Oval Nails
27.
Yellow and Green Easter Nails Combination with Cute Art
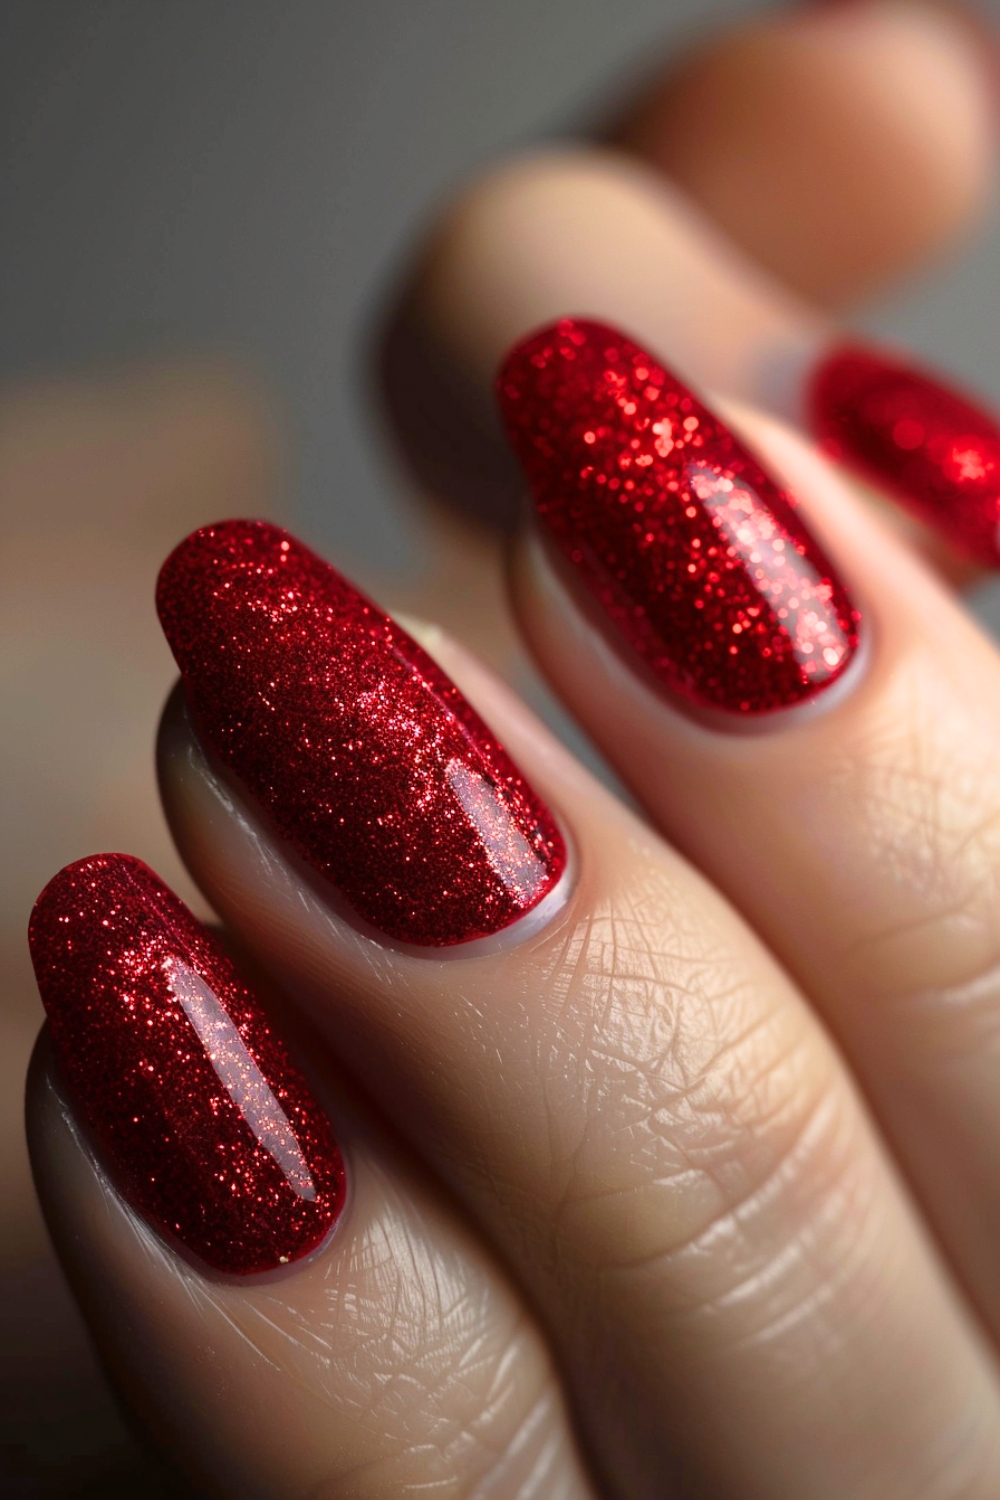
18.
Coffin Shaped Long Easter Glitter Nails
29.
Cute Easter Egg French Tipped Nails
30.
Polka Dot Ombre Square Easter Nails
31.
Cute Short Pastel Almond Easter Dip Nails
32.
Cute Speckled Easter Egg Tipped Nails
33.
Long Coffin Easter Dip Nail Art
Why Choose Easter Dip Nails?
Imagine adorning your nails with delicate pastel shades reminiscent of decorated eggs or intricate floral patterns symbolizing springtime rejuvenation.
Whether you prefer understated elegance or bold extravagance, there are countless ways to personalize your Easter dip nails.
Think of it as the foundation that sets the stage for your vibrant nail design to shine.
Before applying the base coat, verify to prepare your natural nails.
When it comes to applying the base coat, patience is key.
This will help prevent any uneven bumps or thick spots that might affect subsequent layers.
Dipping powders come in an array of festive shades, perfect for creating vibrant and eye-catching designs.
This movement helps distribute and settle down excess powder while ensuring consistent coverage across each nail.
Using a brush or sponge, apply a thin and even layer of activator on each nail.
Be mindful not to over-apply, as it may lead to smudging or an uneven texture.
Allow the activator to dry completely before moving on to the buffing stage.
Buffing is an essential step for achieving a flawless finish.
Take a buffing block or buffer file and gently glide it across each nail in smooth, circular motions.
This helps smooth out any roughness or inconsistencies in the nail surface while enhancing shine.
Remember not to buff too vigorously as it might weaken the layers of your dip nails.
Remember that each new manicure is a chance to have fun and showcase your personal style!
LOVE it?
PIN it for Later!
Best Pro Nail Resources
Ready to elevate your nail game to pro-level perfection?
We’ve gathered an unbeatable selection of resources to help you master the art of nail design.